What's new on NeetoForm Help


image

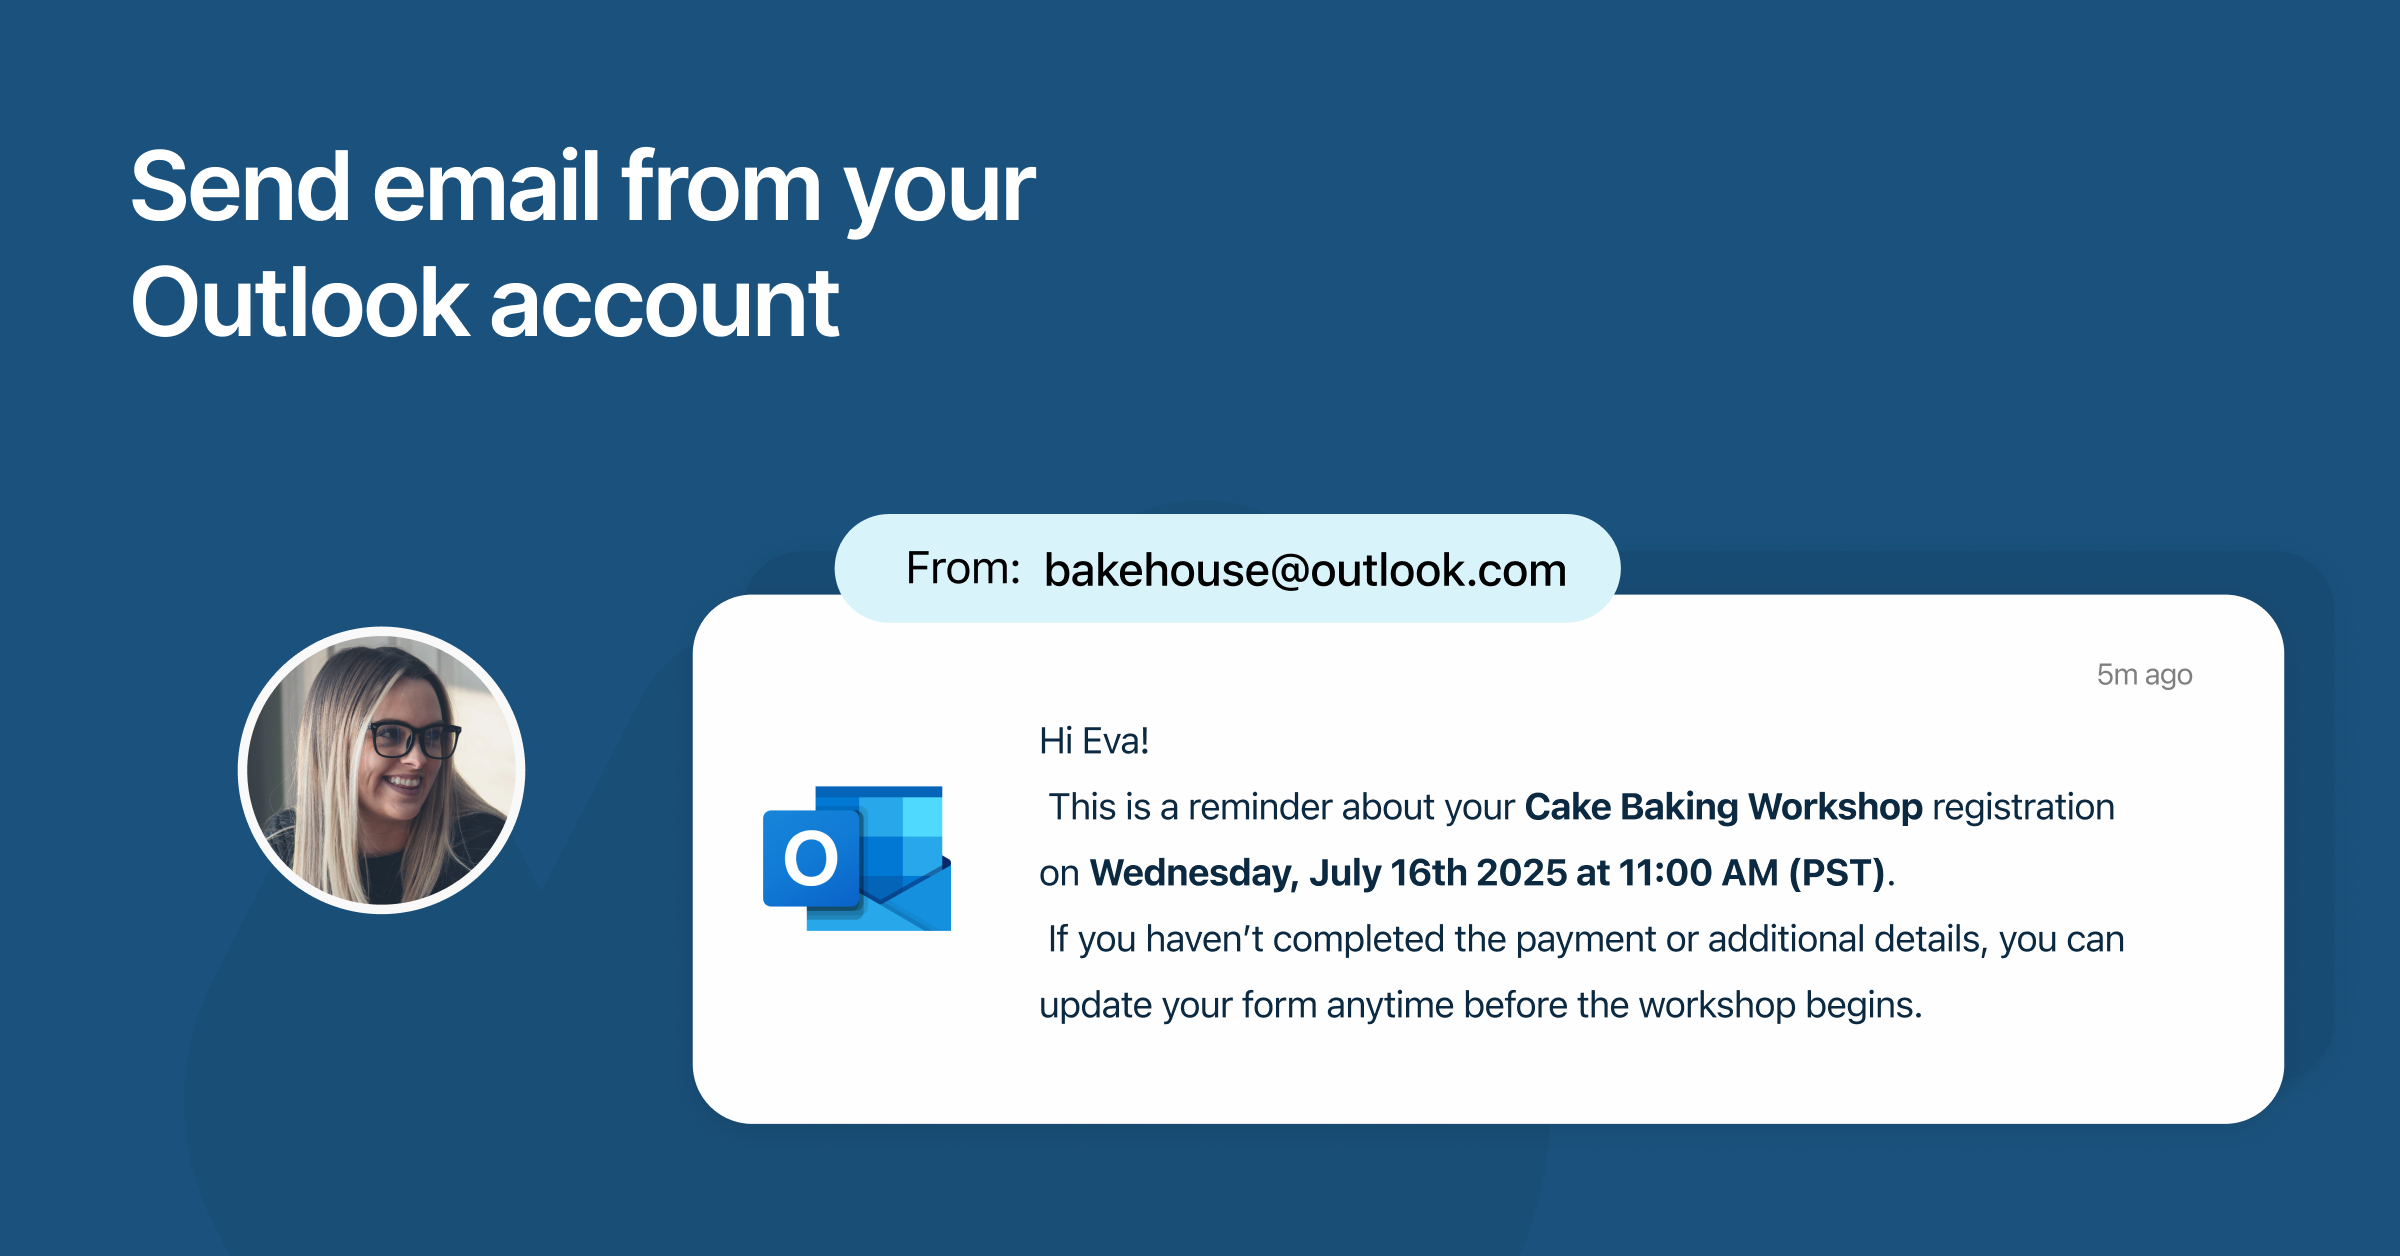
We've added Outlook integration to NeetoForm to help you keep your brand consistent and professional.

By default, all notification emails, like email notifications after submitting a response, verification emails via OTP and emails from automation rules are sent from neetoform.outbound@neeto.com. This generic sender can feel impersonal to your clients and may not accurately reflect your brand.


With this new feature, you can now:

  • Connect your Outlook account to NeetoForm.

  • Send all emails (to you and your form submitters) directly from your own domain via Outlook.

  • Improve email deliverability and build trust with a recognizable sender address.

This integration helps you create a more professional experience, especially for consultants and coaches, event organizers, HR teams, and service providers.

To learn more about this feature, check our help article.
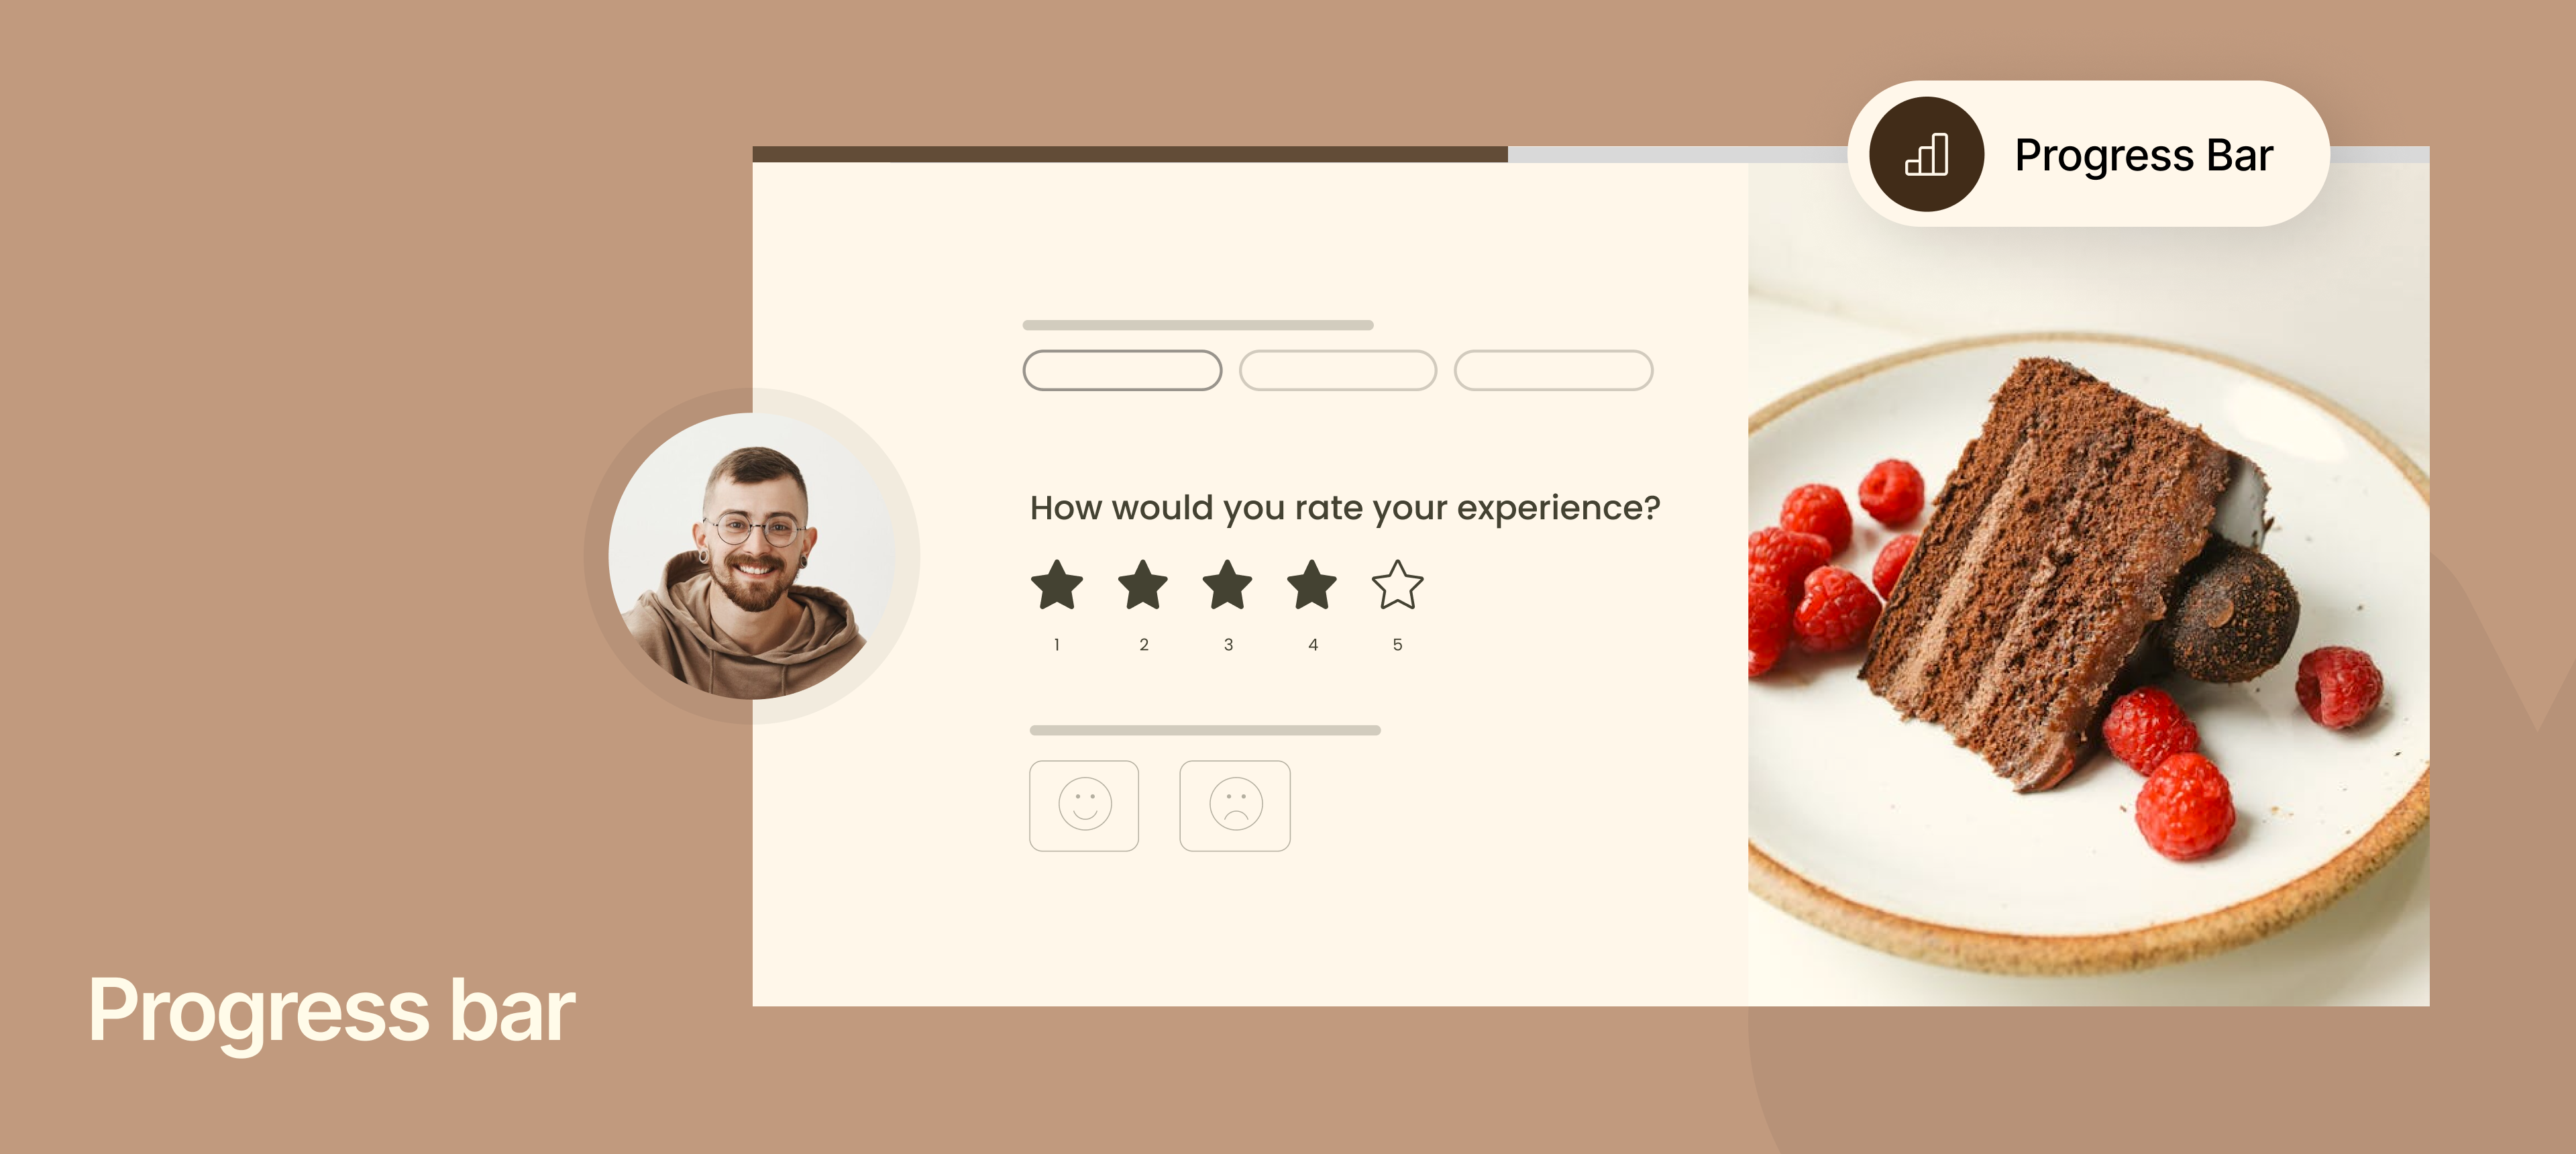

Progress bar

Sagar Anadkat
image

We've introduced a progress bar to help people who are filling them out. A visual progress bar now appears at the top of your forms as they are being filled out.

How it helps you

  • See progress: As your submitters fill out the form, the progress bar moves forward. This shows precisely how much of the form they've completed and how much remains.

  • Clear goal: It provides a clear, visual sense of progress toward the end goal (submitting the form).

To learn more about this feature, check our help article.


image

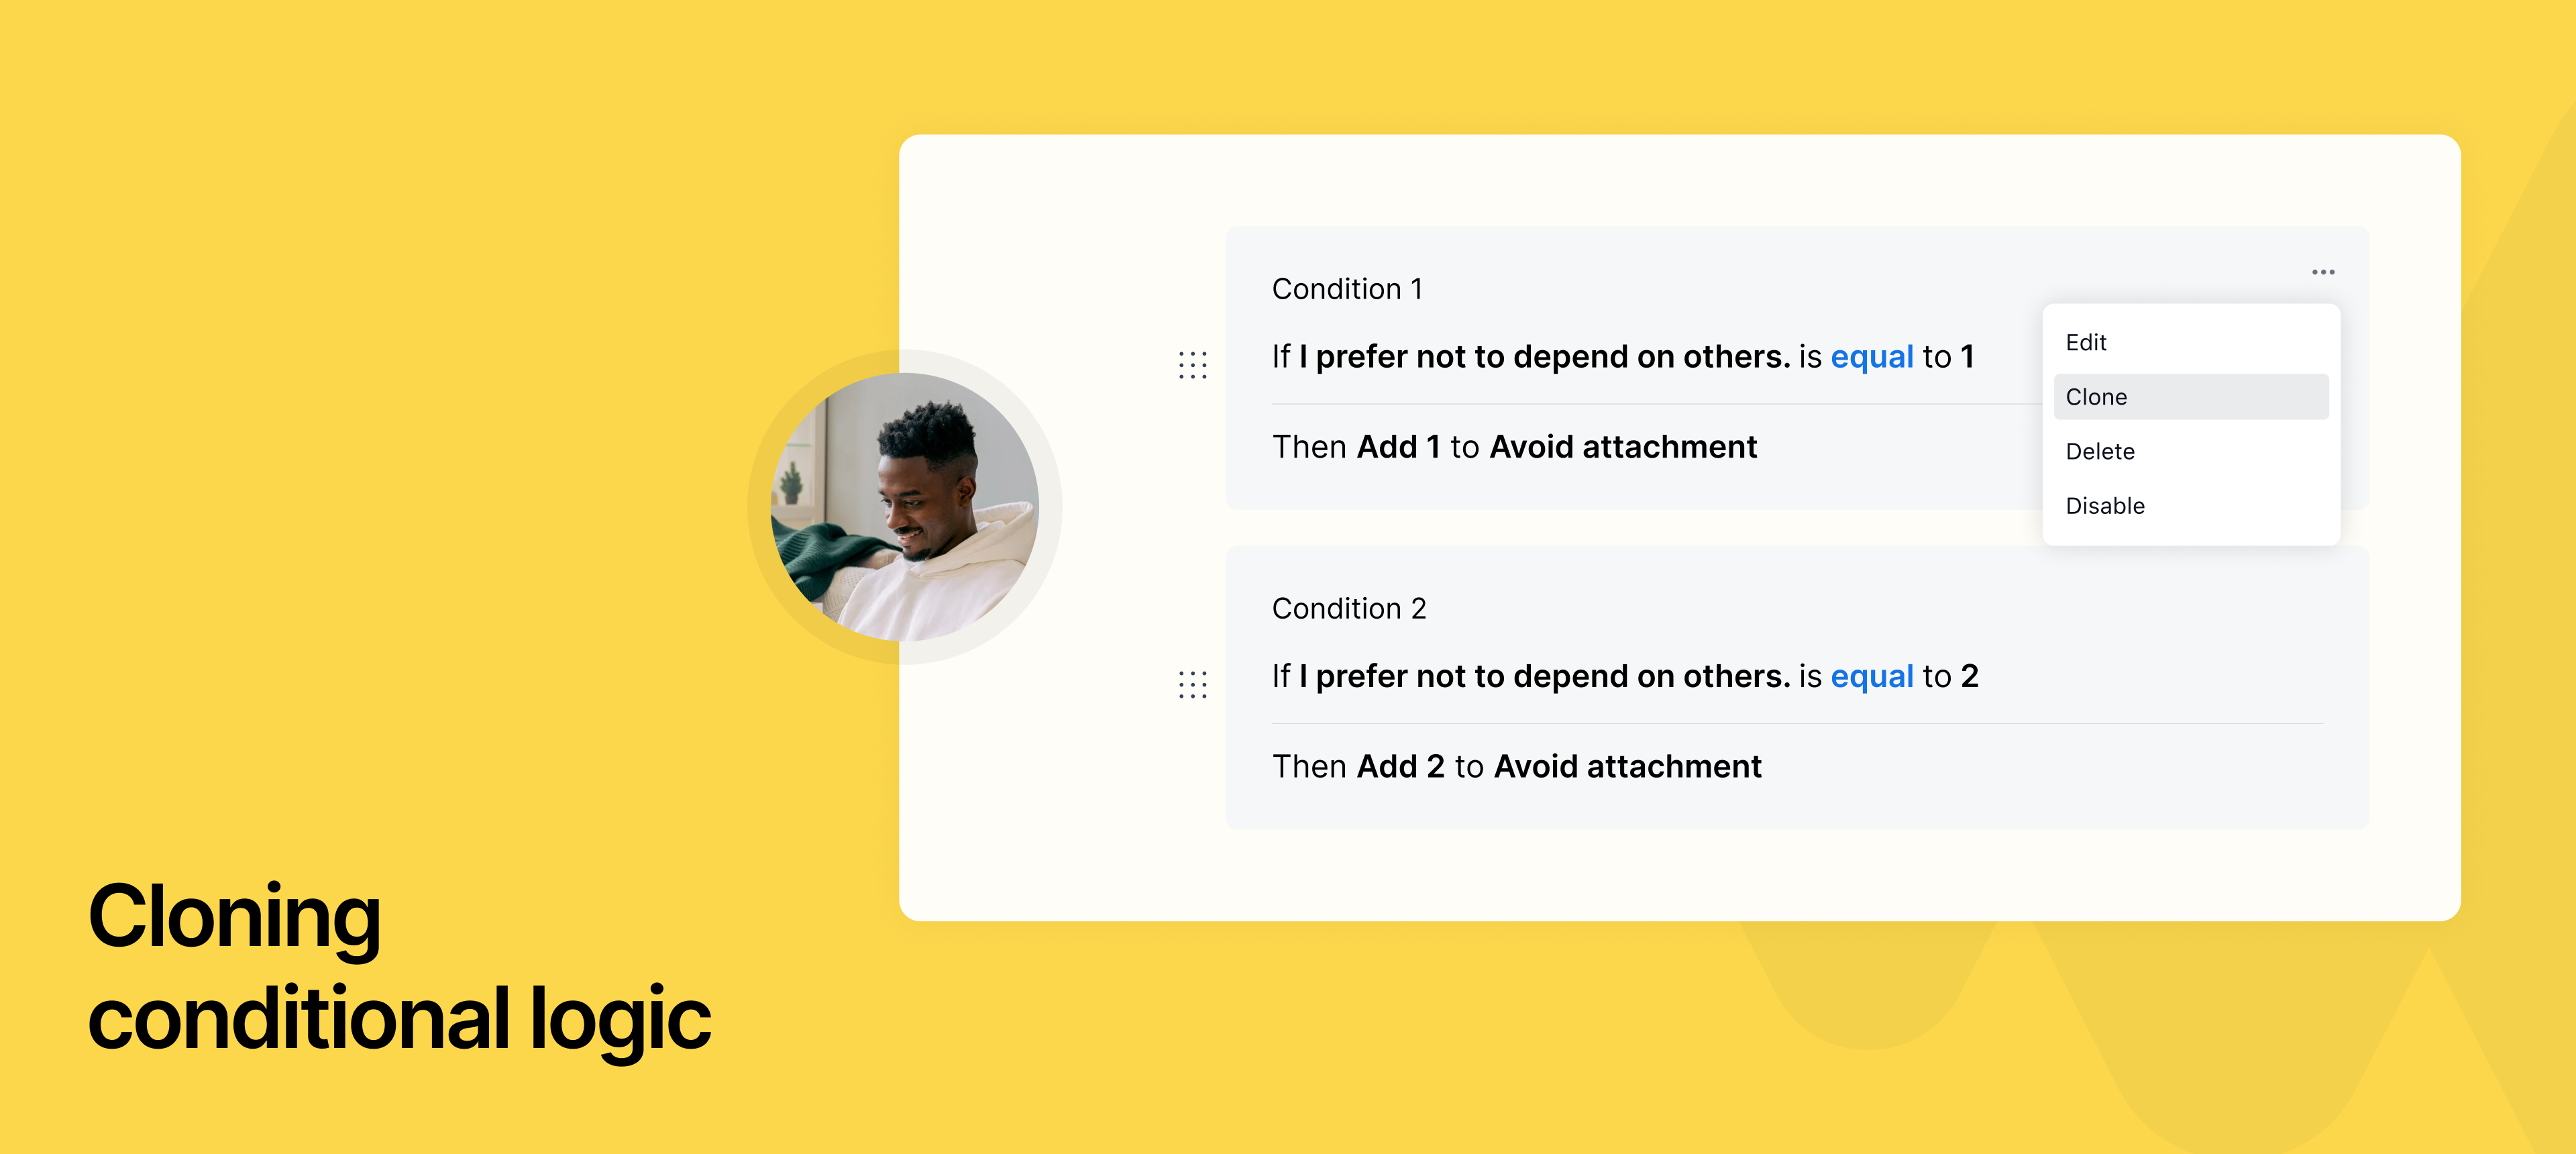
We've added a clone option to conditional logic, making it much faster to create similar rules.

What it does

  • Now you can instantly duplicate an existing condition.

  • This creates an exact copy, which you can then quickly edit with minor changes.

How it helps you

  • Saves time: If you have many conditions that are almost the same (e.g., rules for different sales regions, but with slightly different values), you no longer have to build them all from scratch. For example, if you have logic for "Region A" and need almost the exact same rule for "Region B," you just clone the first one and change A to B.

  • Reduces errors: Cloning and making small tweaks is much easier than re-entering complex logic, helping you set up your forms or workflows accurately and quickly.

To learn more about this feature, check our help article.


image

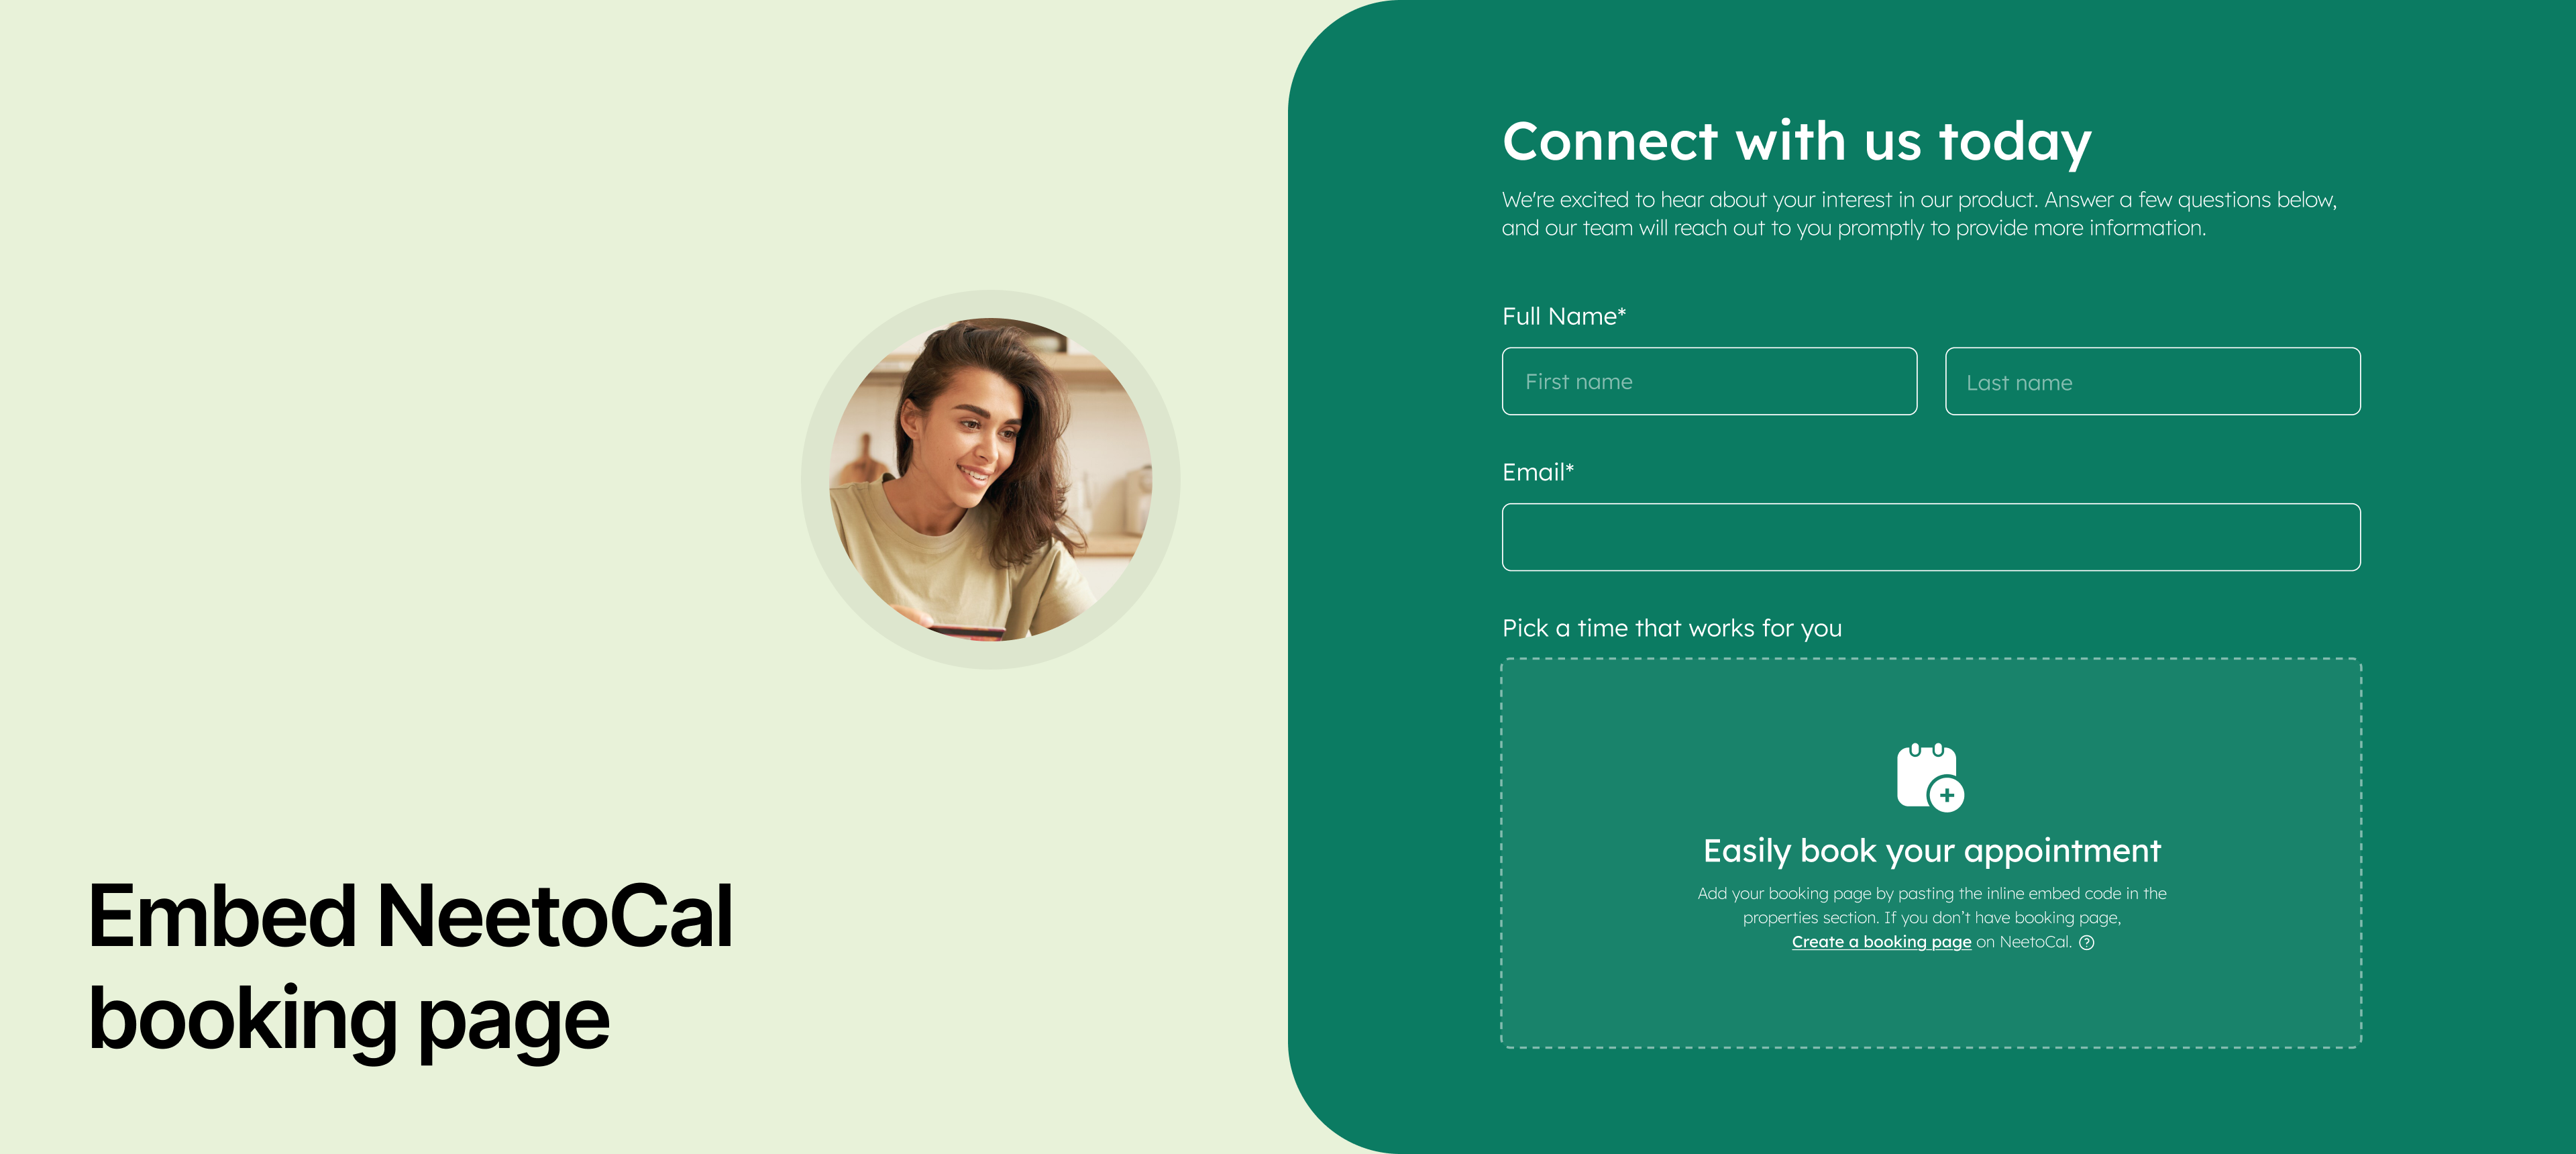
You can now embed a NeetoCal booking calendar directly into your NeetoForm. Imagine you have an intake form for new clients. Instead of making them fill out the form and then follow a separate link to schedule a call, they can now do both in one go.

How it benefits you

  • Higher conversion: Reduce steps for your users, leading to more completed bookings. They don't have to leave the form page, which means less friction.

  • Smoother workflow: Collect all necessary information (via the form) and secure the meeting slot (via the embedded booking) instantly.

  • Better user experience: Your form respondents can book a meeting with you on NeetoCal without ever leaving the form, making the entire process fast.

To learn about this feature, check our help article.


image

We've improved how emails are sent from NeetoForm, making them look more professional.

What's new

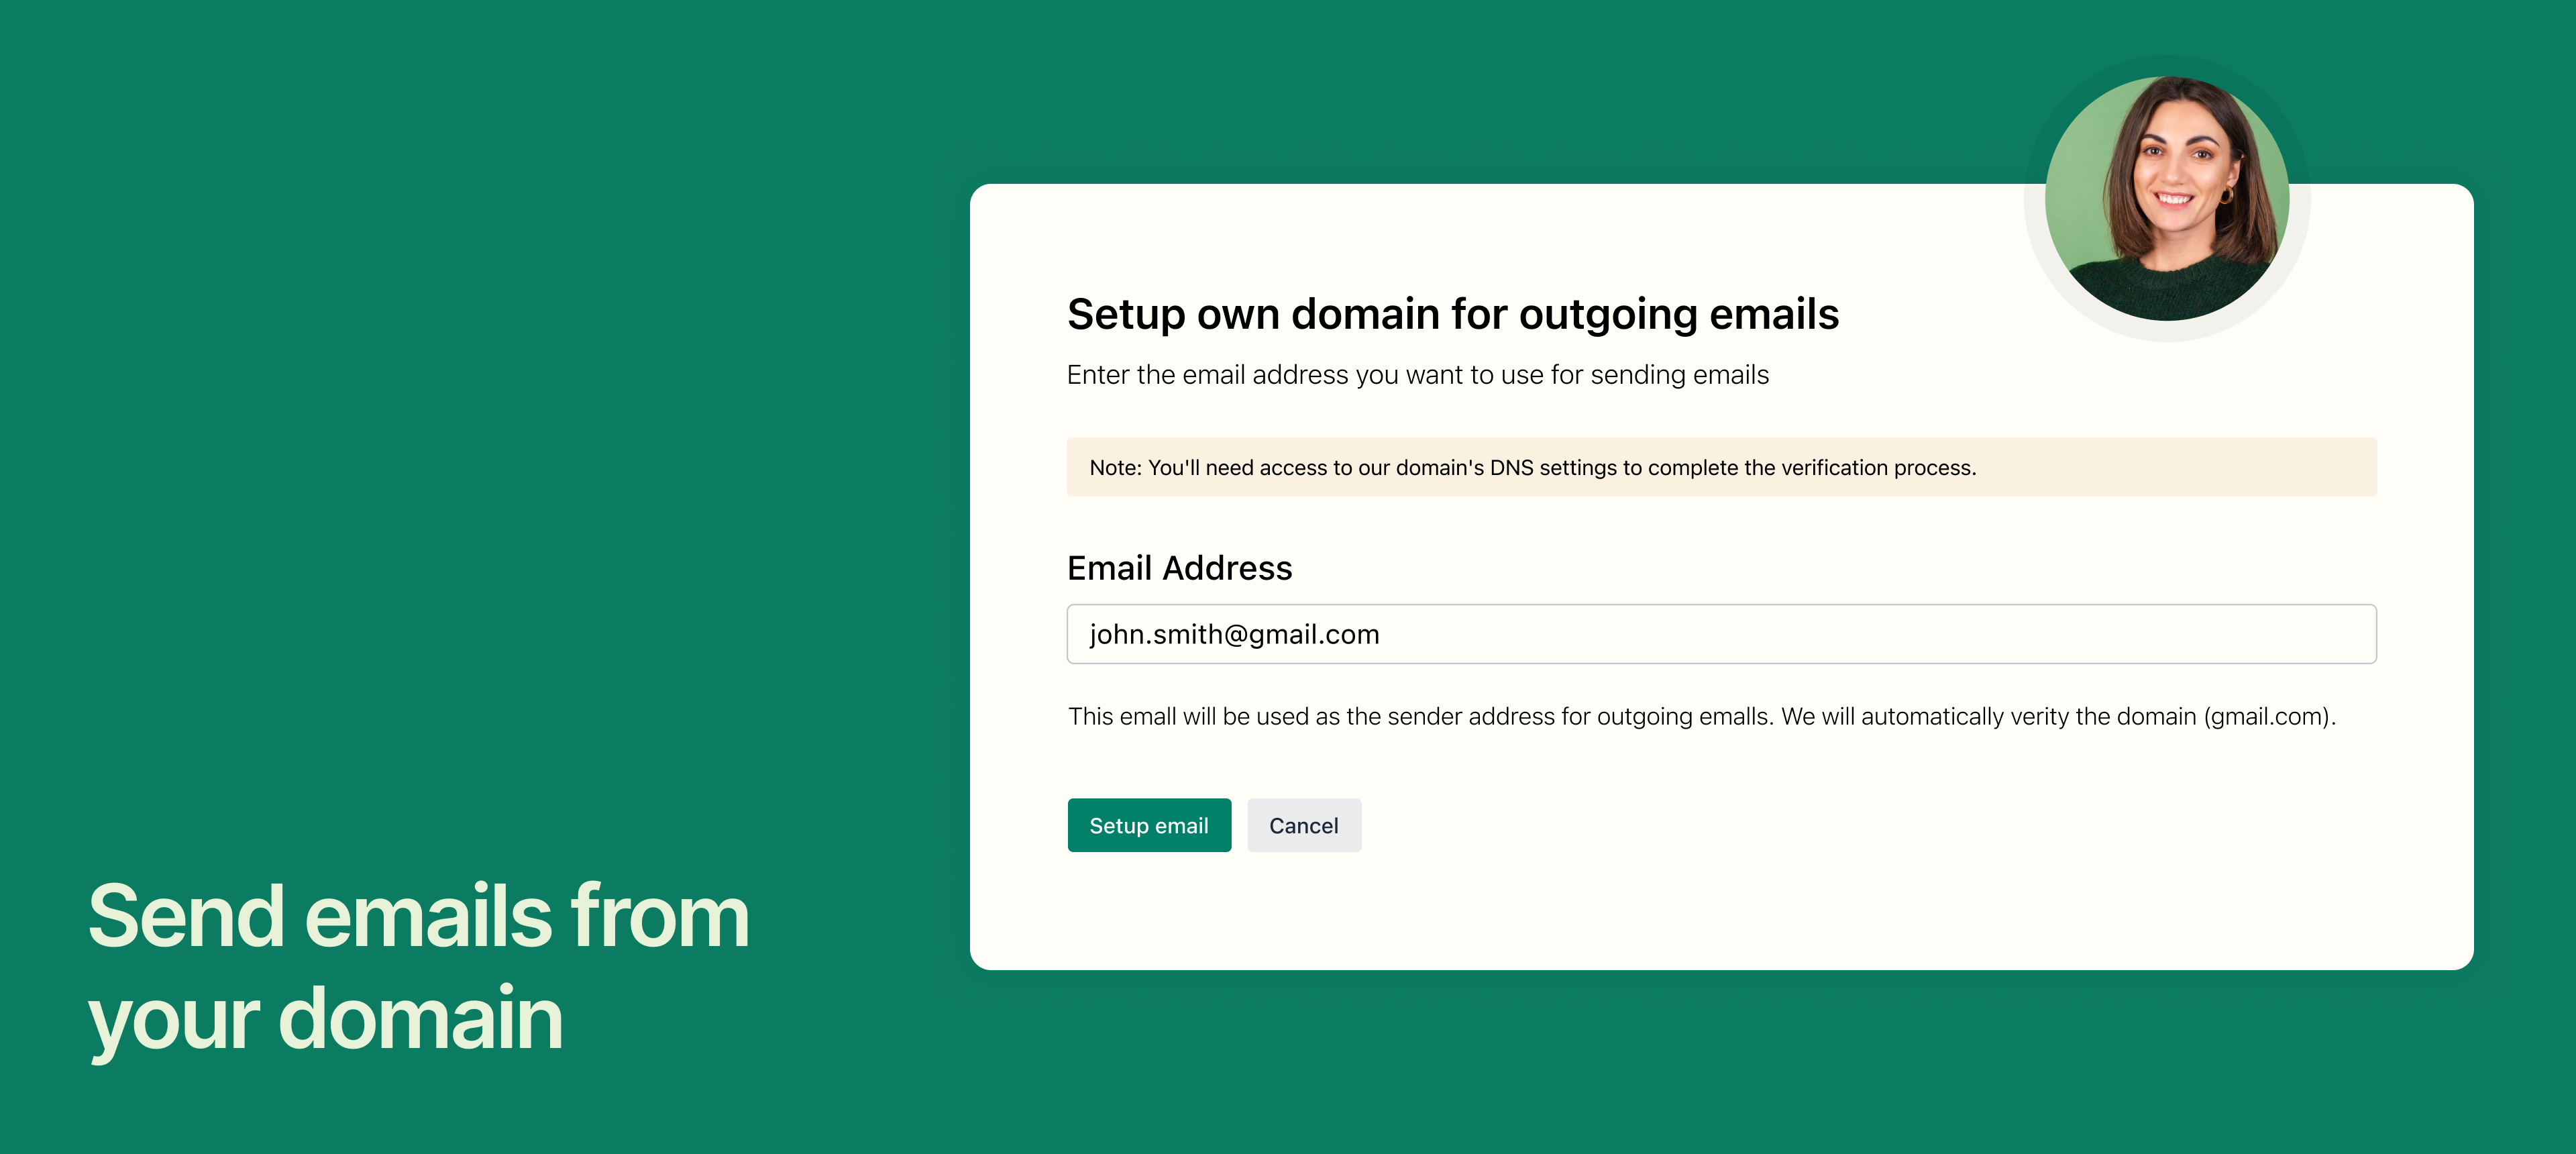
We've added support for DKIM and DMARC. NeetoForm allows you to send emails using your own domain with a custom email provider. This helps make your emails look more professional and trustworthy. You need to configure your DKIM and DNS settings to send emails from your custom email provider.

What this means for you

  • You can now send confirmation emails and notifications to your form submitters directly from your own professional domain (e.g., forms@yourcompany.com) instead of neetoform.outbound@neeto.com

  • Your emails will be more trustworthy. By configuring DKIM and DMARC with your custom email provider, you are verifying that the email is genuinely coming from your domain. This is a critical step that major email providers (like Gmail and Outlook) use to determine whether an email is safe.

  • Using these security standards means your emails are far less likely to be flagged as spam, ensuring your important messages reach your form submitters' inboxes.

How to use it

To start sending emails from your custom domain, you will need to configure your DKIM and DNS settings within your custom email provider's service. To learn more about this feature, refer to this help article.


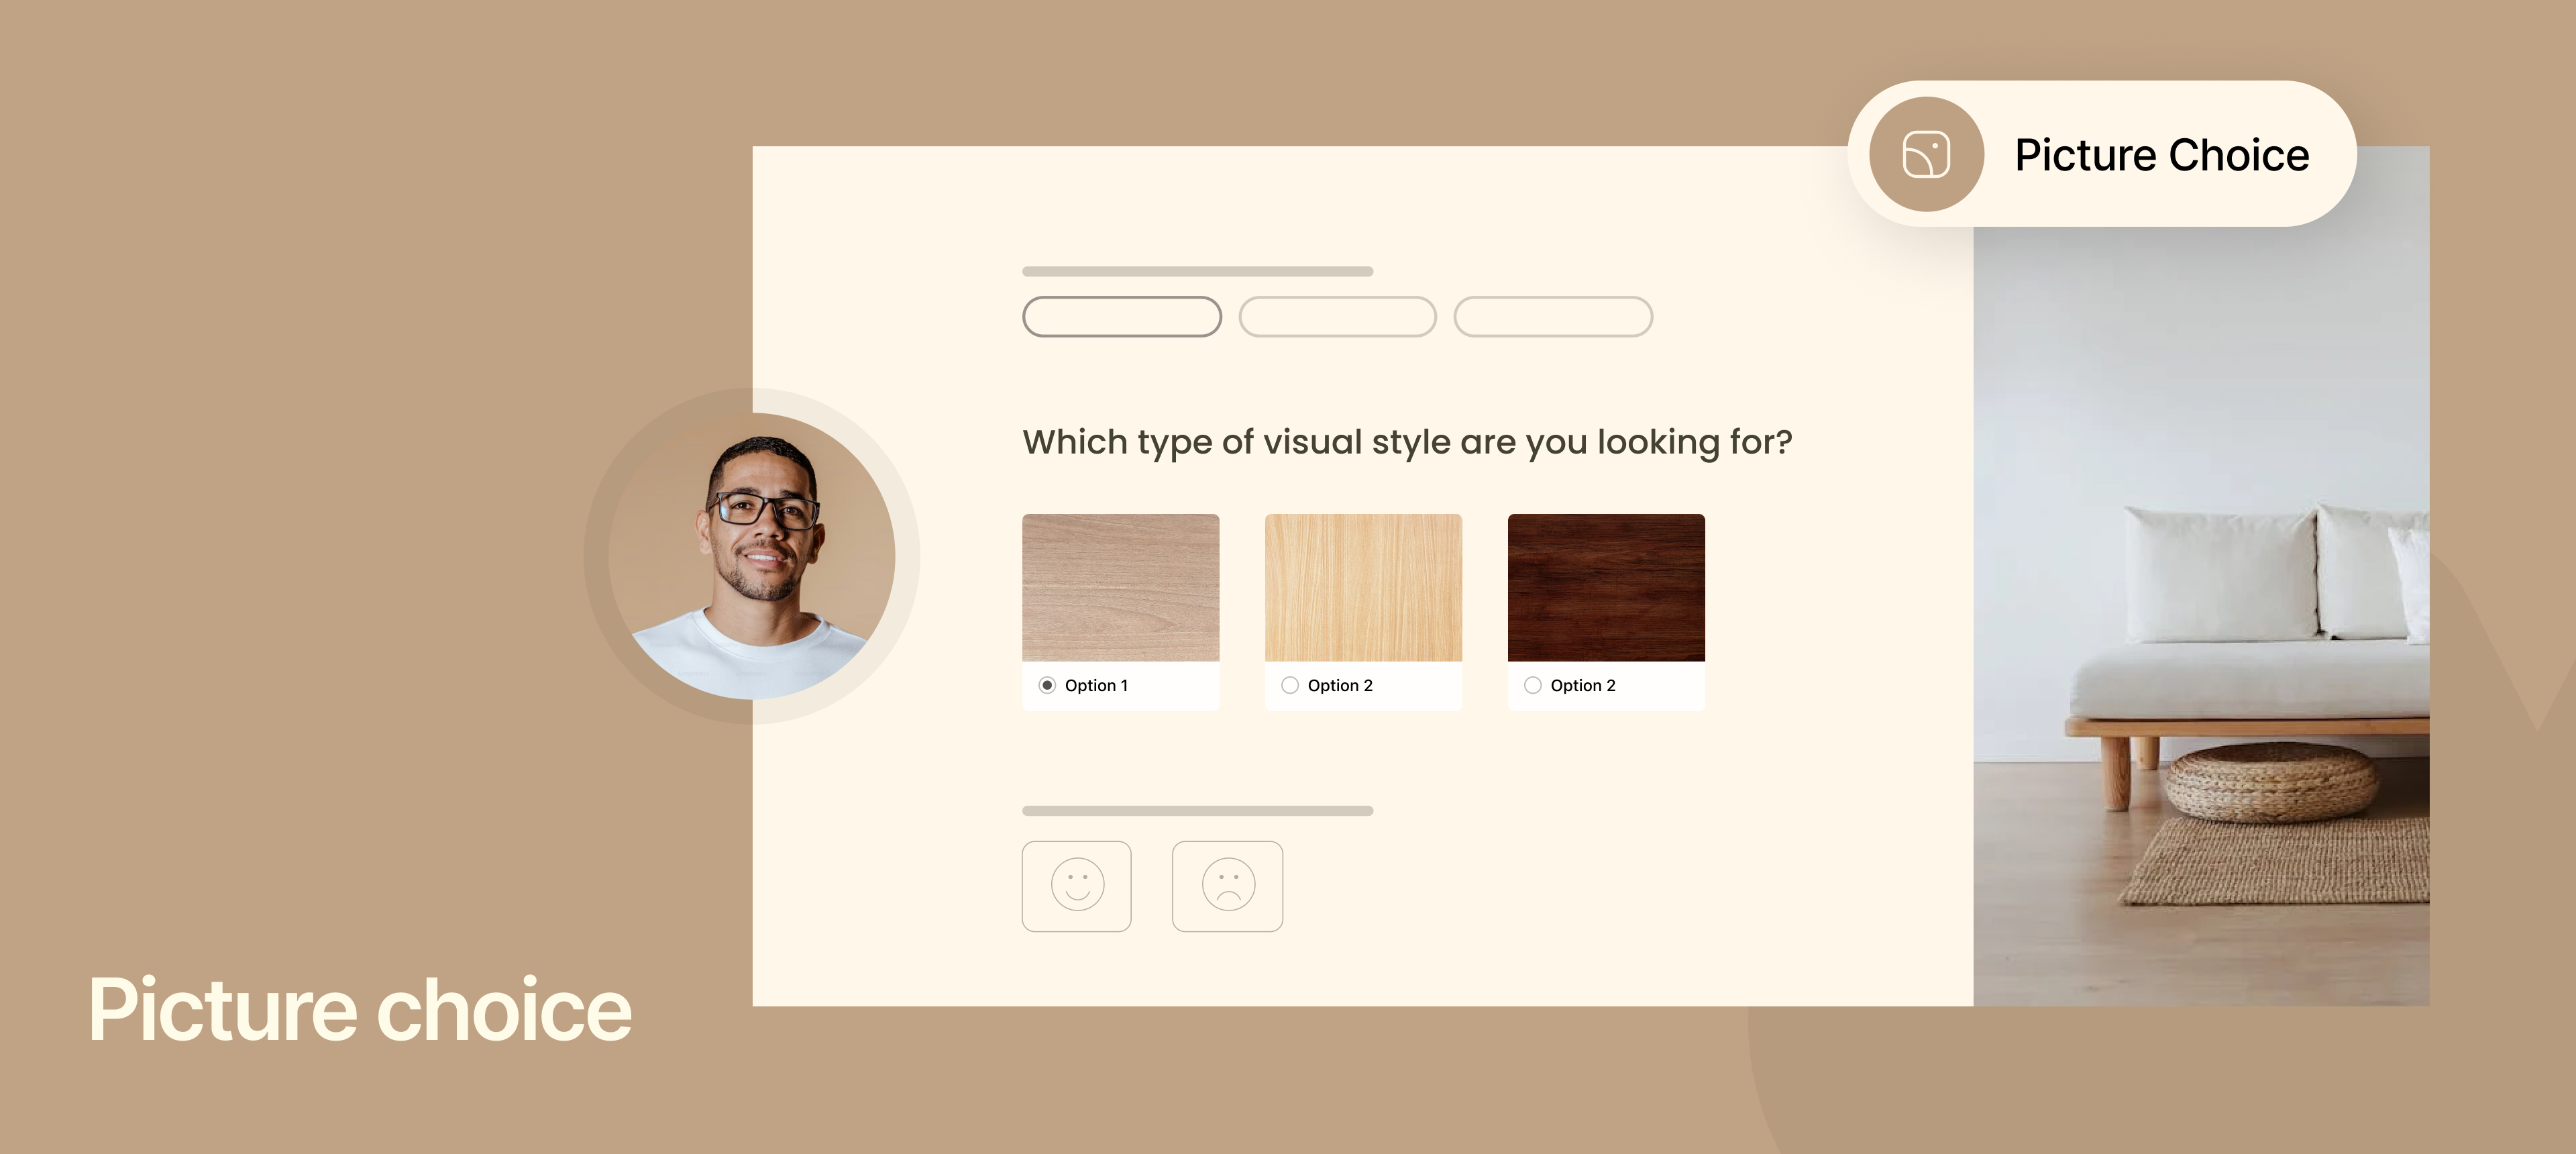
Picture choices

Sagar Anadkat
image

You can now add pictures to options, providing users with a more visual way to make their selections.

How it helps you

  • Easier choosing: Instead of just reading text, you get a clear visual reference. This makes deciding much faster and simpler.

  • More engaging: The selection process is more intuitive.

  • Great for visuals: This is especially useful when you need to compare things visually.

Use cases

  • Choosing between different clothing designs or furniture layouts.

  • Selecting a hotel room type or a vacation spot.

  • Picking items from a menu.

To learn about this feature, check our help article.


We've added a new element, Banner. The Banner is a clean, noticeable box you can use to make important announcements, share quick notes, or warn users about something important.

Why is this helpful for you?

  • Catch attention: Banners stand out clearly from other content, making sure your most important message doesn't get missed.

  • Clear communication: They help you quickly communicate the type of message being shared.

How it works

You can now choose from four distinct types of Banners. Each type uses a specific color to immediately signal its purpose.

Banner Type

What it's for

Color Signal

Info

General announcements or helpful tips.

Warning

Drawing attention to something that needs caution.

Error

Letting users know that something can go wrong.

Success

Confirming that a task has been completed successfully.


We've added Google Tag Manager integration to NeetoForm. Now you can track form submissions and manage all your analytics tags from one place.

What does this mean for you?

This integration gives you one simple place to manage all your website tracking tags for your forms. Instead of adding many different code snippets to your form, you just connect GTM and handle everything from there.

  • Manage all your tags in one spot: Easily control tools like Google Analytics, remarketing trackers, and other marketing scripts from the Google Tag Manager dashboard, instead of individually in NeetoForm.

  • Better tracking control: Decide exactly when and where your tracking code should run, especially after a form is submitted.

  • Forward form events: Automatically send information about form submissions to your marketing tools. This helps you get better data for your campaigns in tools like Google Analytics.

To learn how to use this, refer to this help article.


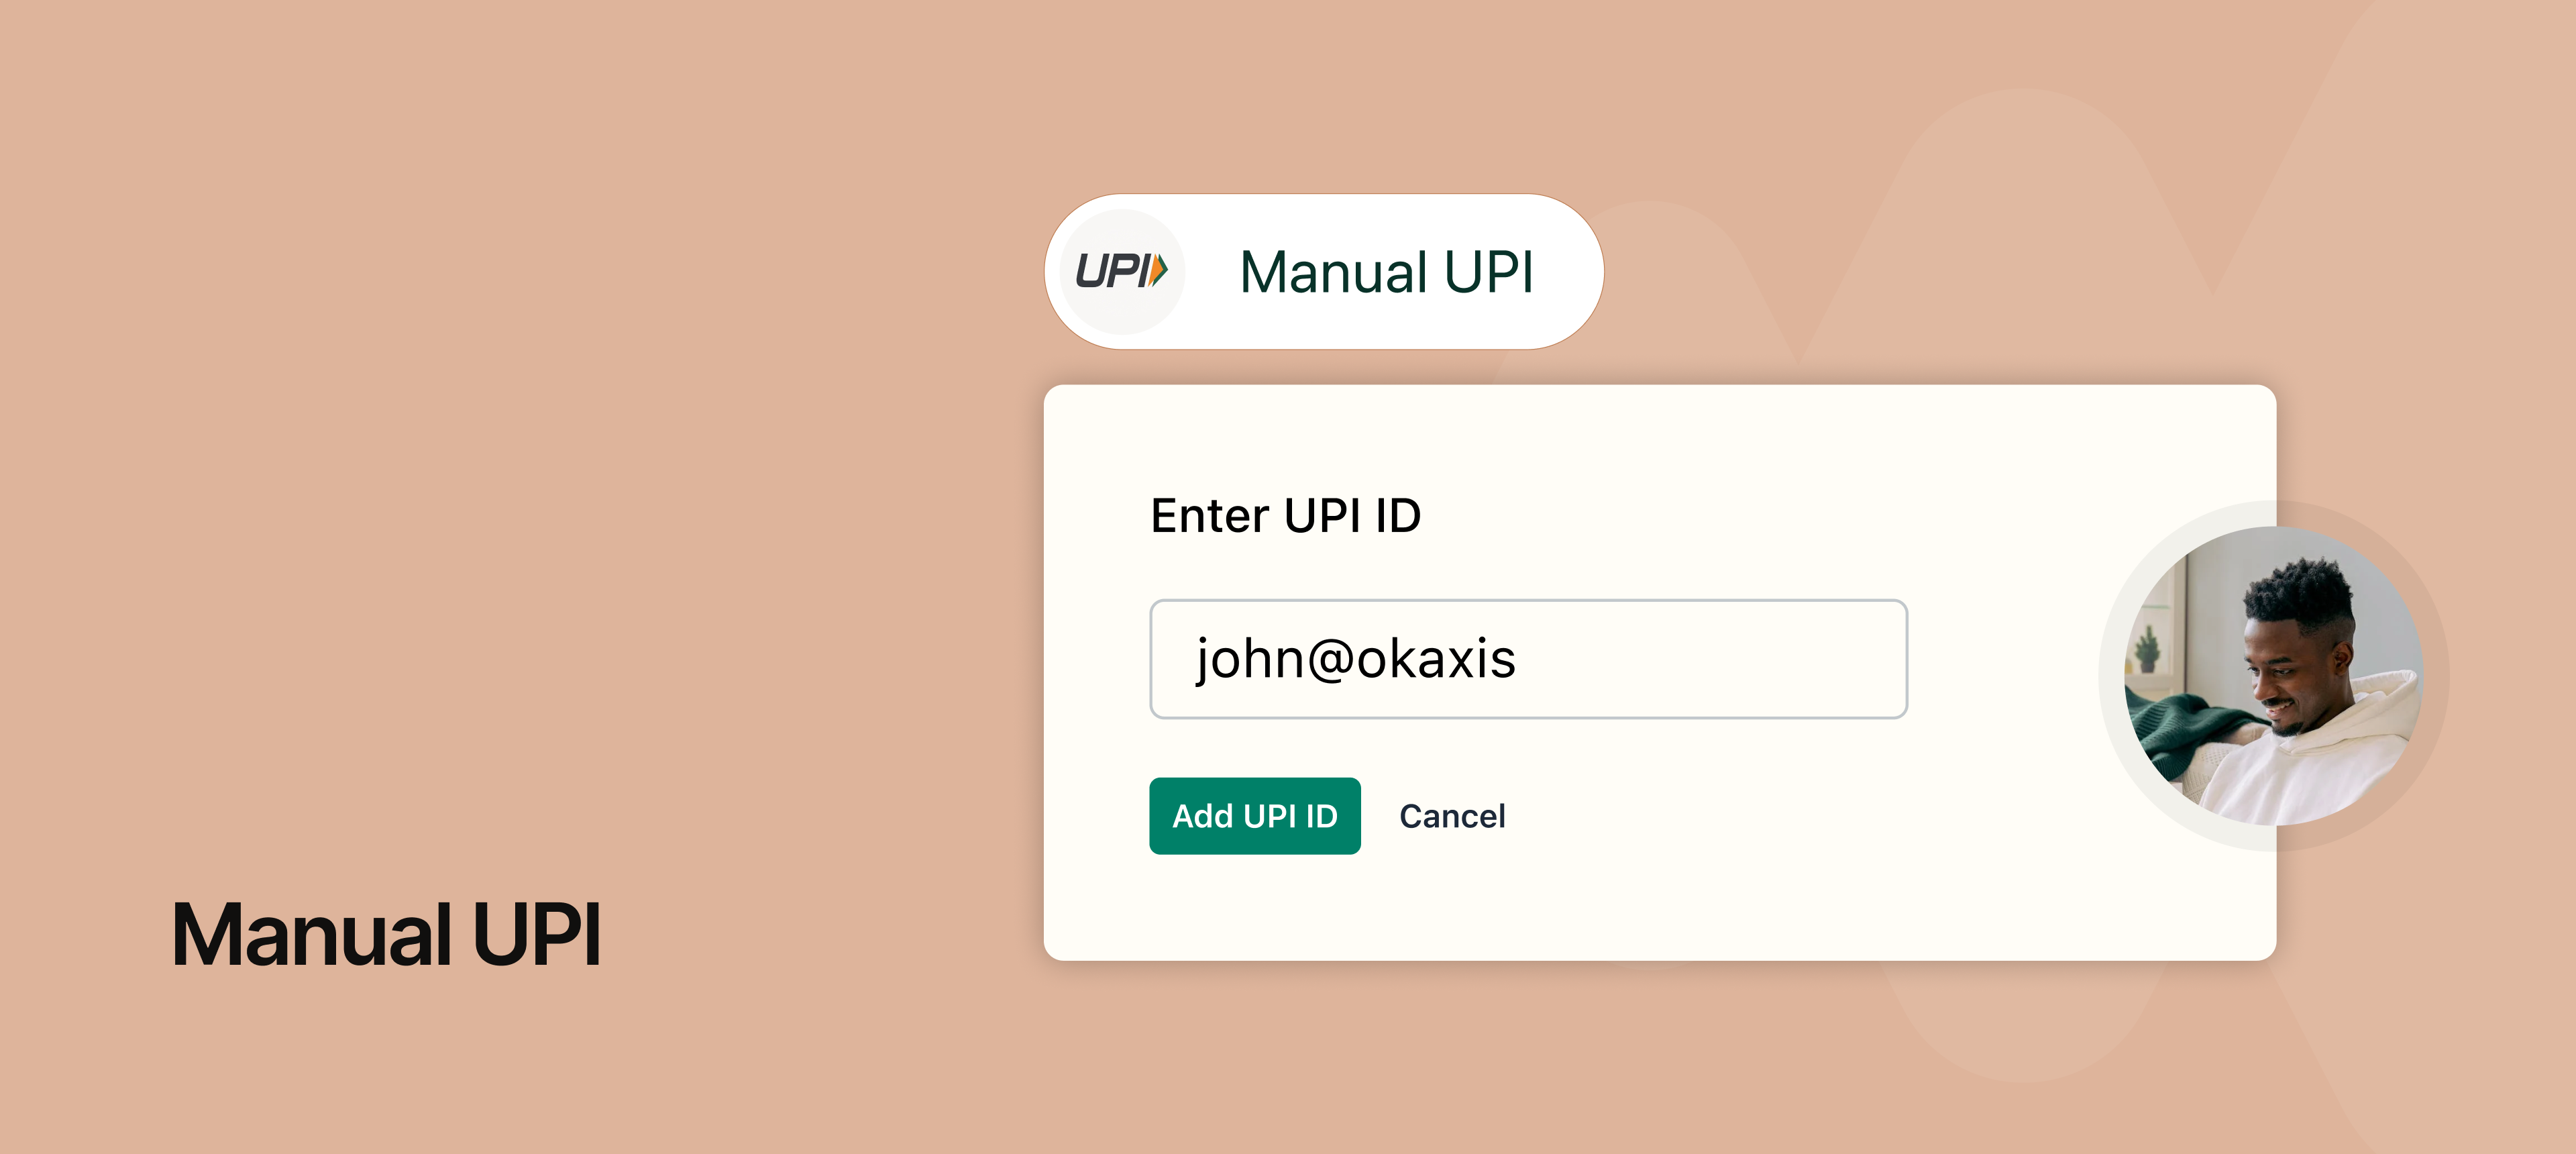
Manual UPI payments

Sagar Anadkat
image

You can now easily accept payments directly into your bank account using UPI. This lets you collect payments from anyone in India directly through your NeetoForm. All payments go directly to your chosen UPI ID/Bank account.

You can add multiple UPI IDs to a single form to receive payments from different sources (e.g., your personal UPI and your business UPI).

To learn how to use this, refer to this help article.


We've made it easier to keep your forms organized! You can now move forms from one workspace to another.

This helps you keep all your related forms organized and consolidated in the right workspace, making your dashboard cleaner and easier to navigate.

To learn how to use this, refer to this help article.