What's new on NeetoForm Help


form-changelog-automation-rules_loxvl-3Da4.png

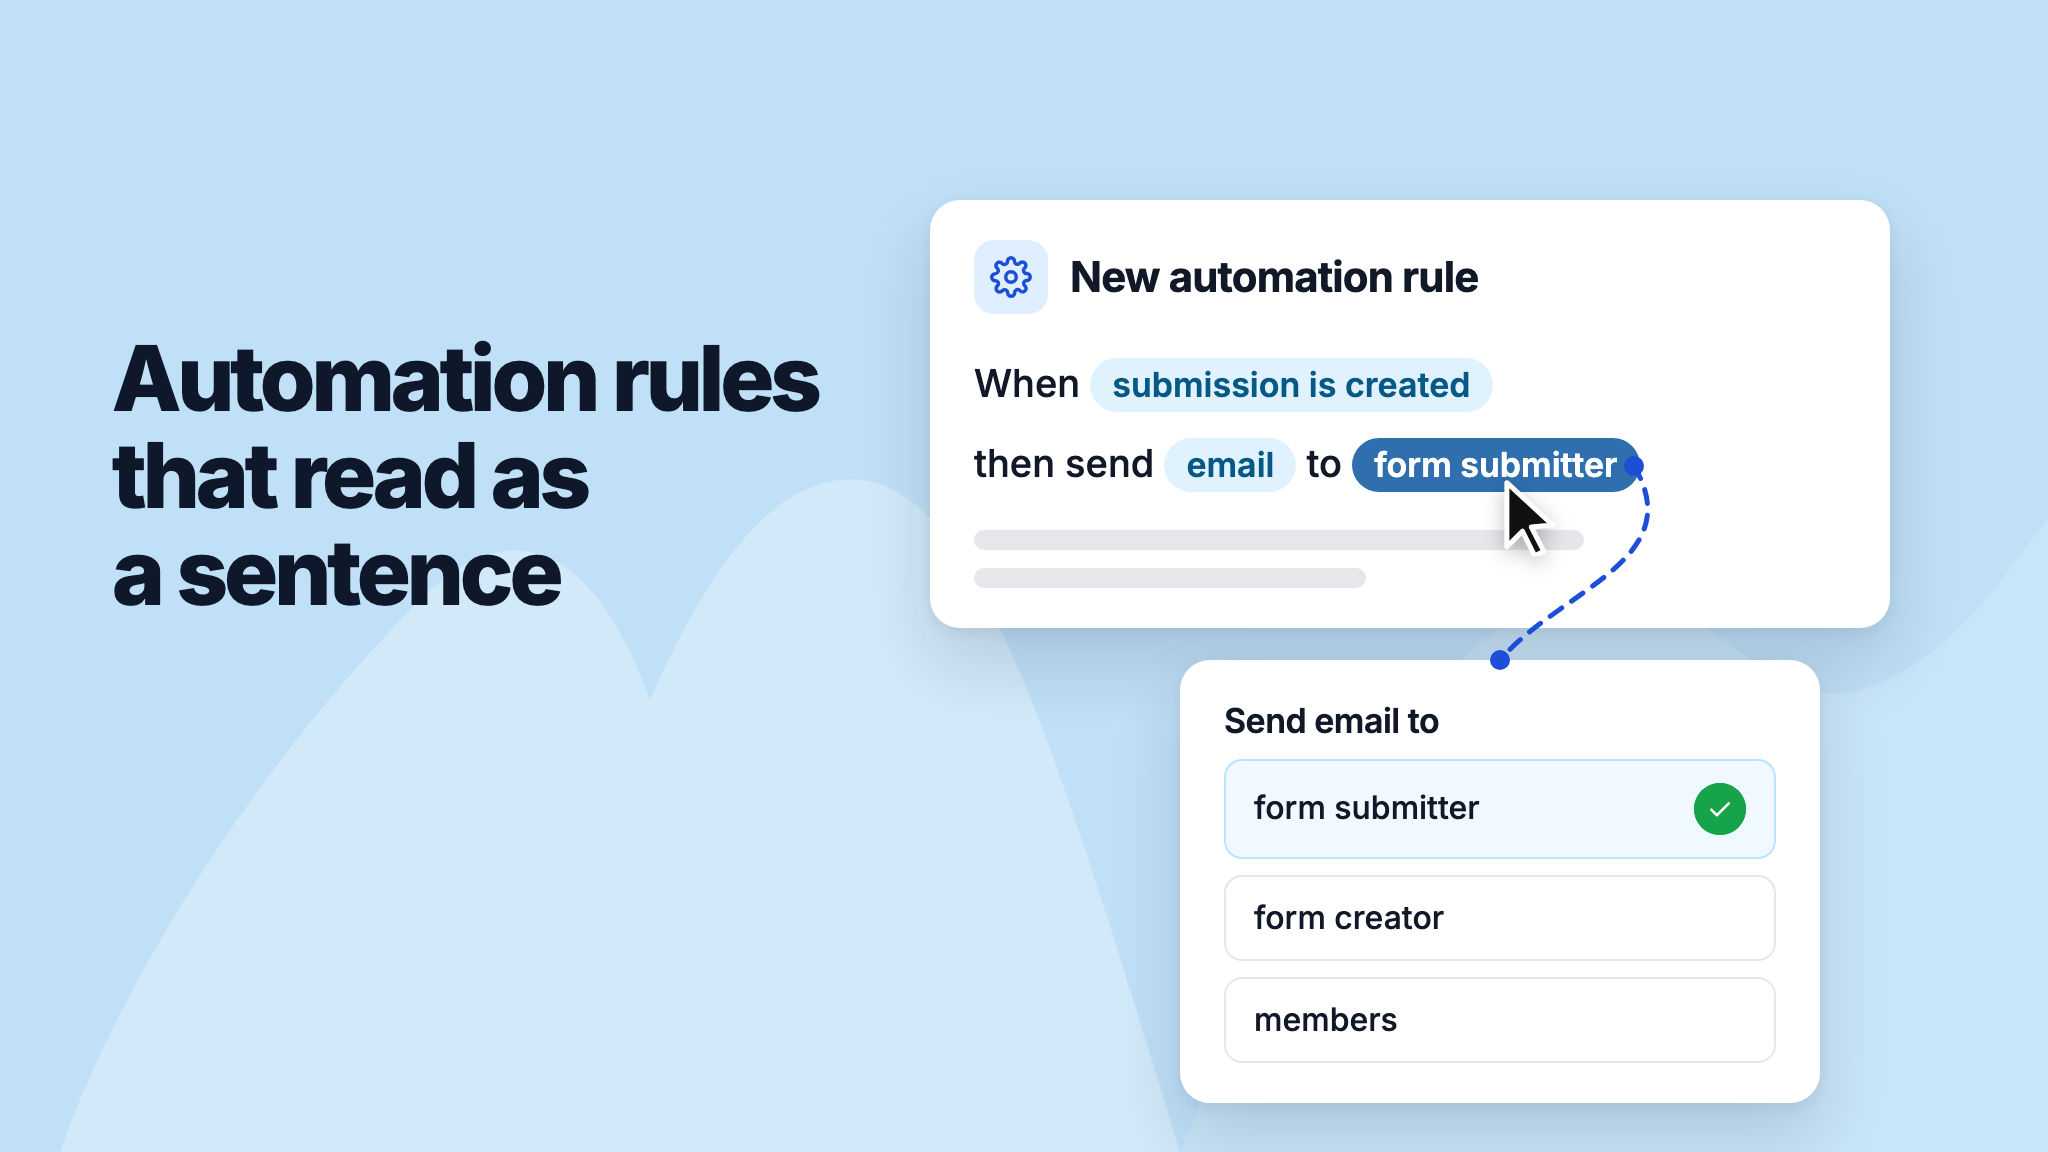
We've rebuilt the automation rule builder so each rule reads as a sentence, such as "When submission is created then send email to form submitter". You build a rule by picking each part of the sentence in turn.

Email and SMS actions are now grouped, so you pick the channel first and then who receives it. When an option isn't available, such as SMS without Twilio connected, it tells you why.

To learn more, read our help article.

neetoform-changelog-page-breaks_TQKlTqz89.png

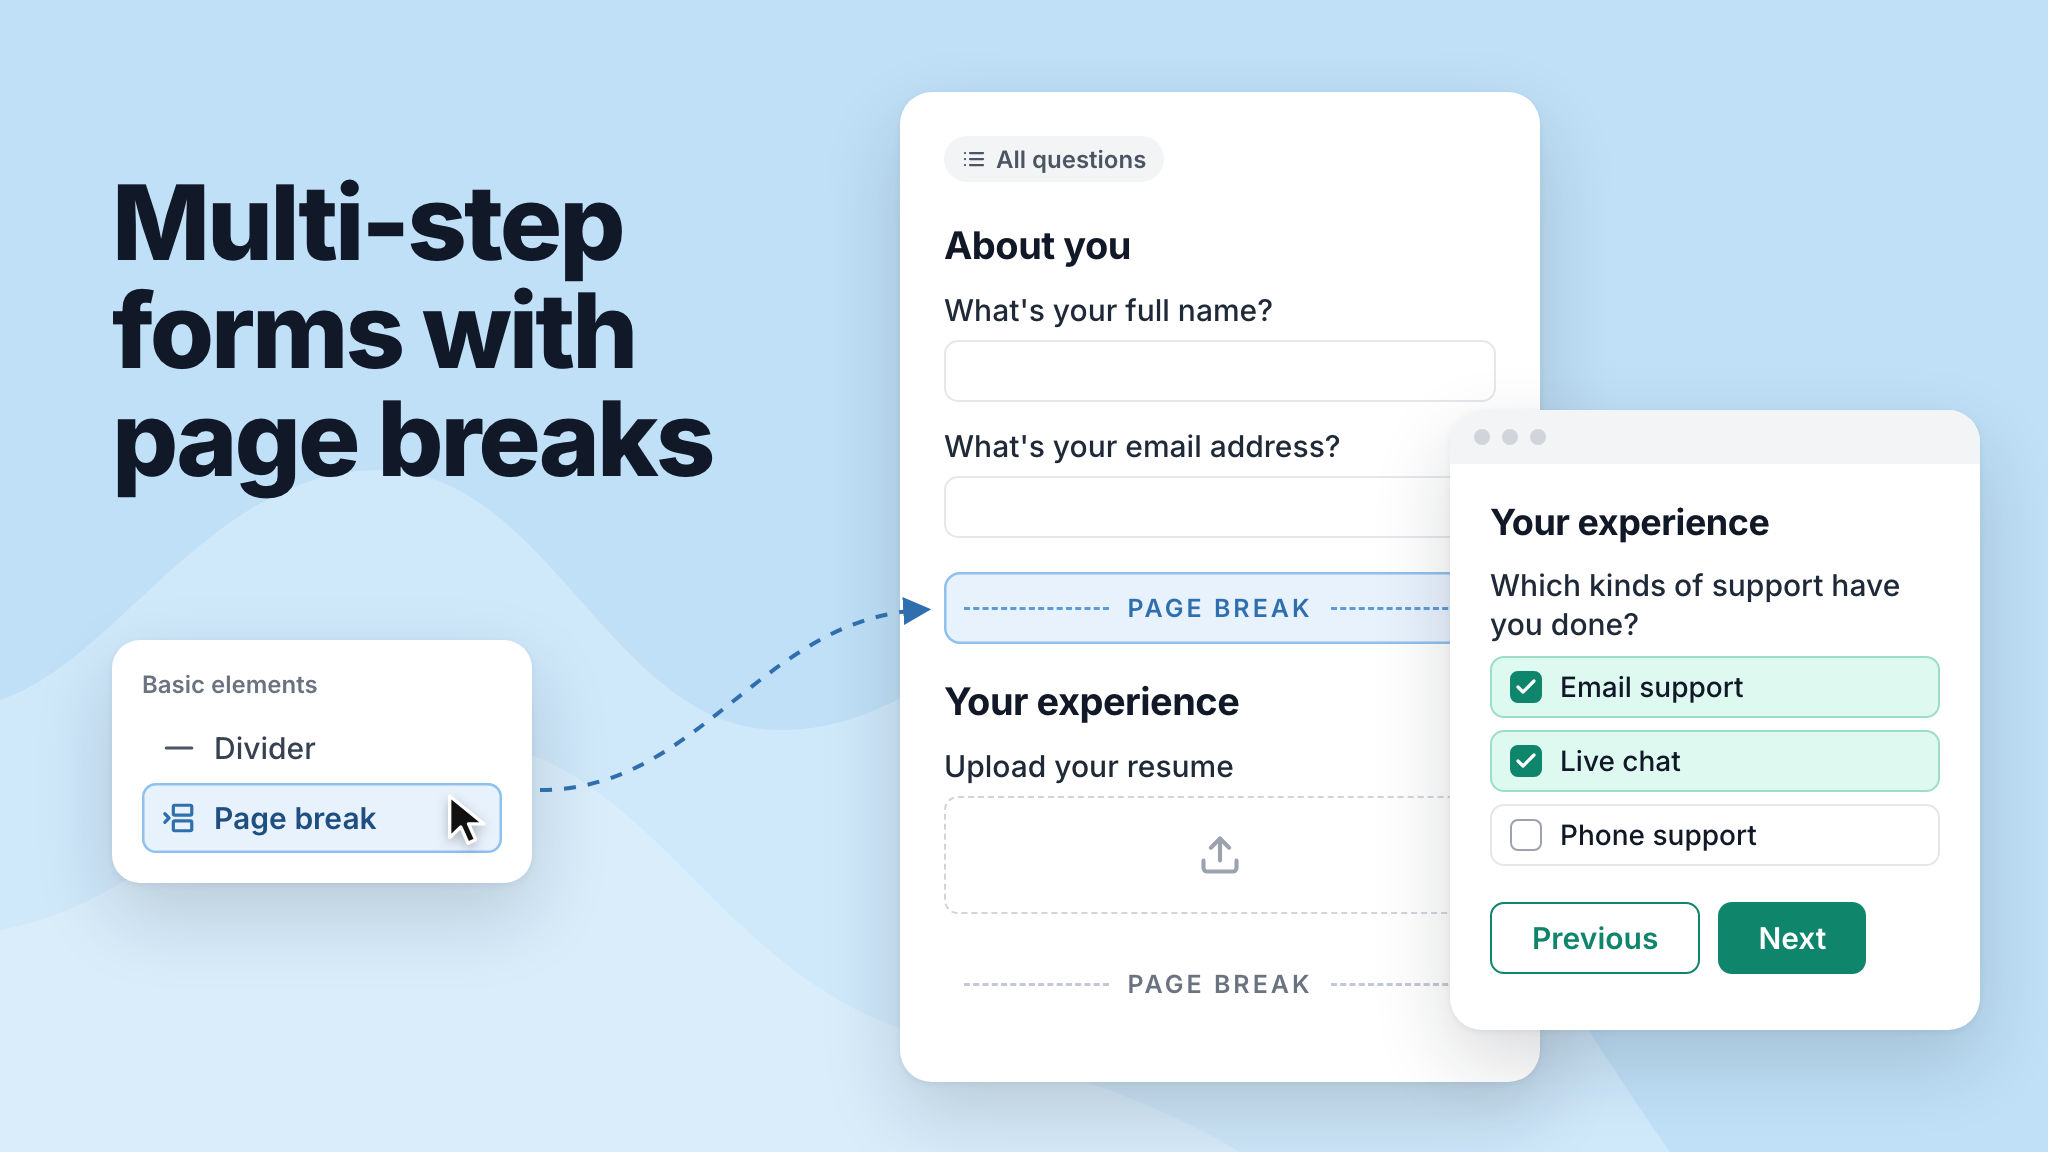
You can now split a long form into pages. Add a Page break element wherever you want a new page to start, and respondents will fill in one page at a time using the Next and Previous buttons.

NeetoForm checks the answers on each page before moving on, keeps answers when respondents go back, and skips any page where conditional logic hides every question. To see how it looks, try this example job application form.

To learn more, read our help article.

neetoform-changelog-one-question-at-a-time_8V9ZiD8-F.png

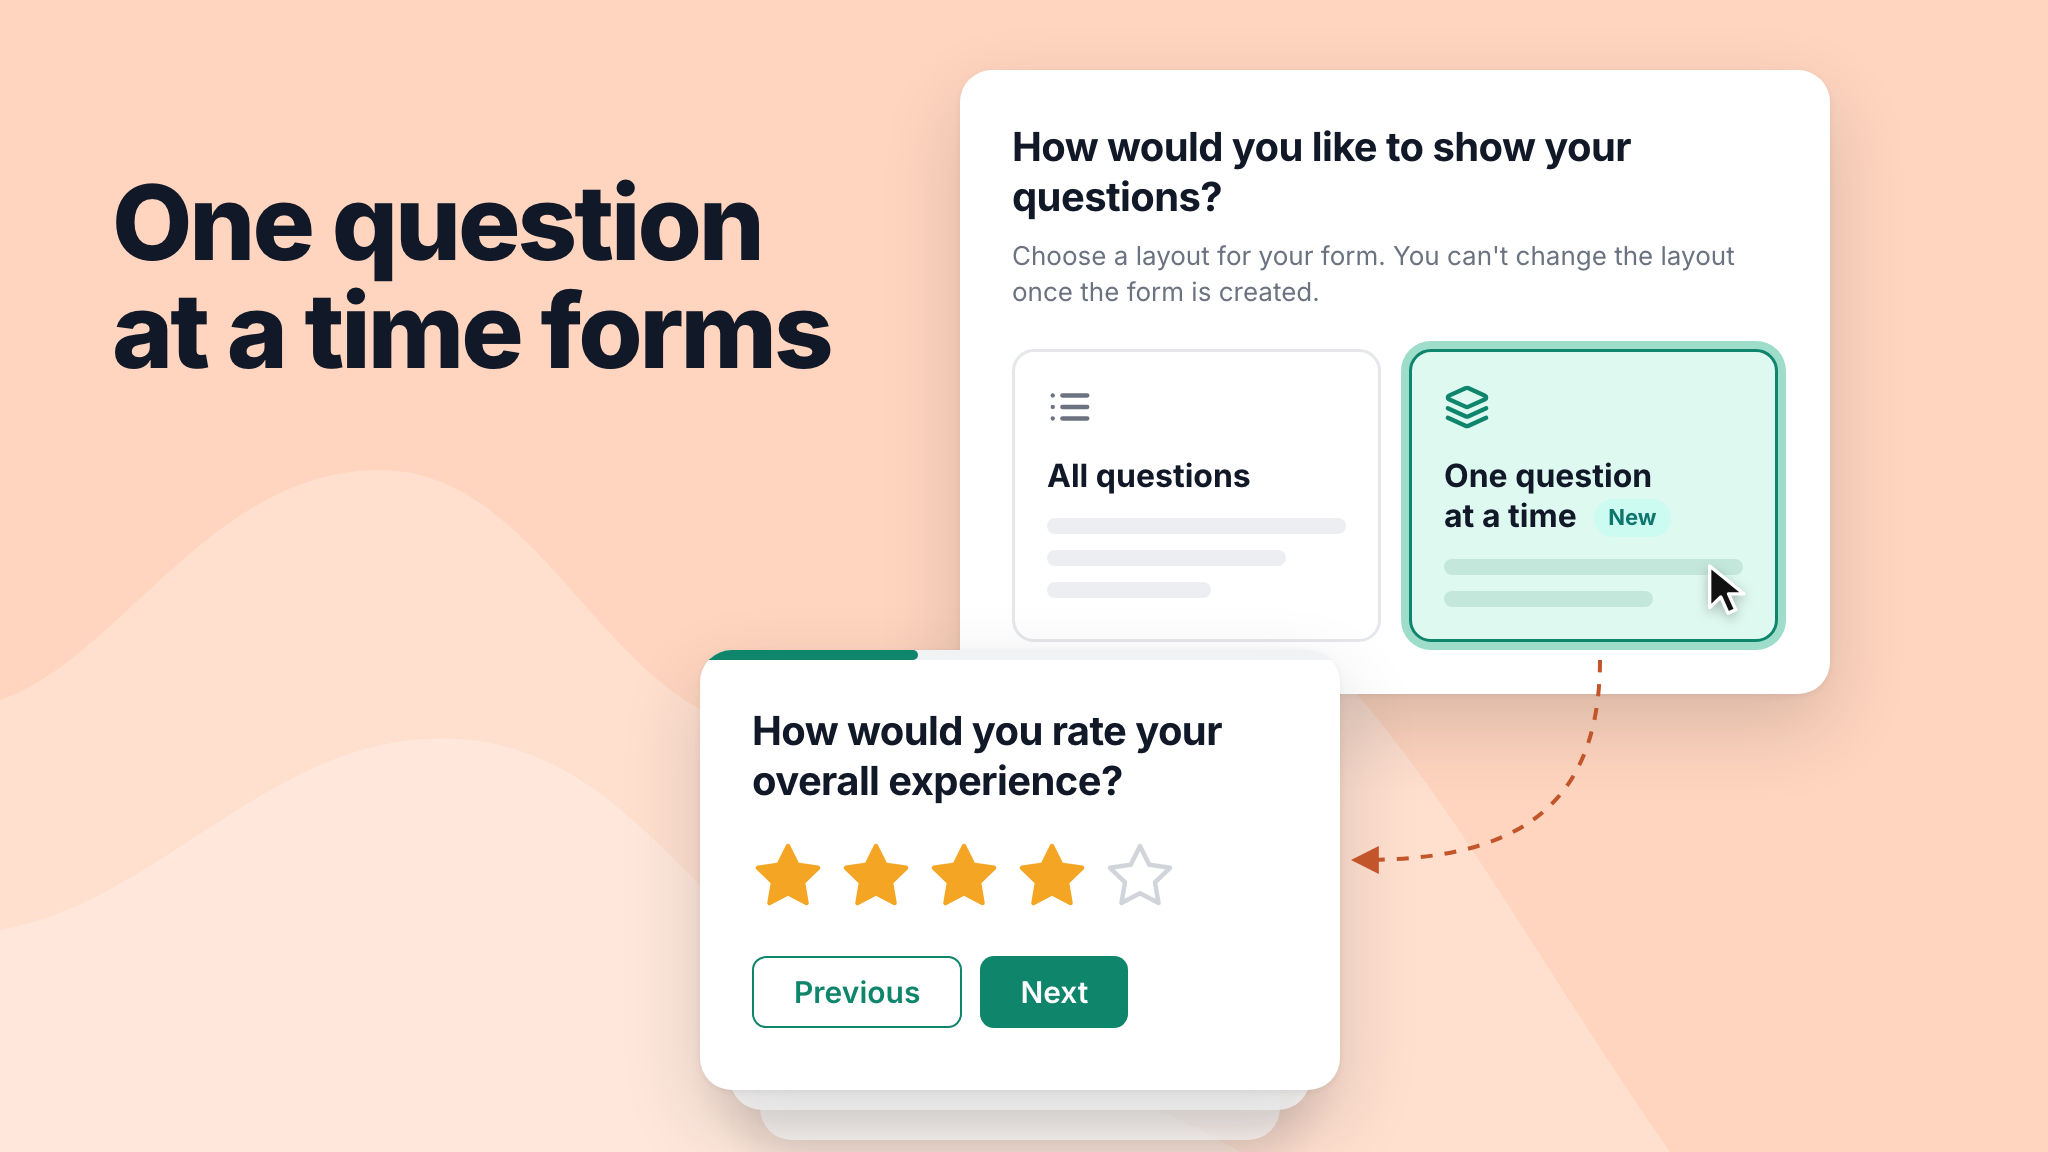
You can now create forms that show one question at a time. When you start a form from scratch, choose One question at a time, and respondents will see each question on its own screen, with Previous and Next buttons.

In the builder, each question appears on its own card, in the order respondents will see them. The layout is set when you create the form and can't be changed later. To see how it looks, try this example customer feedback survey.

To learn more, read our help article.

Google Drive integration

Sagar Anadkat

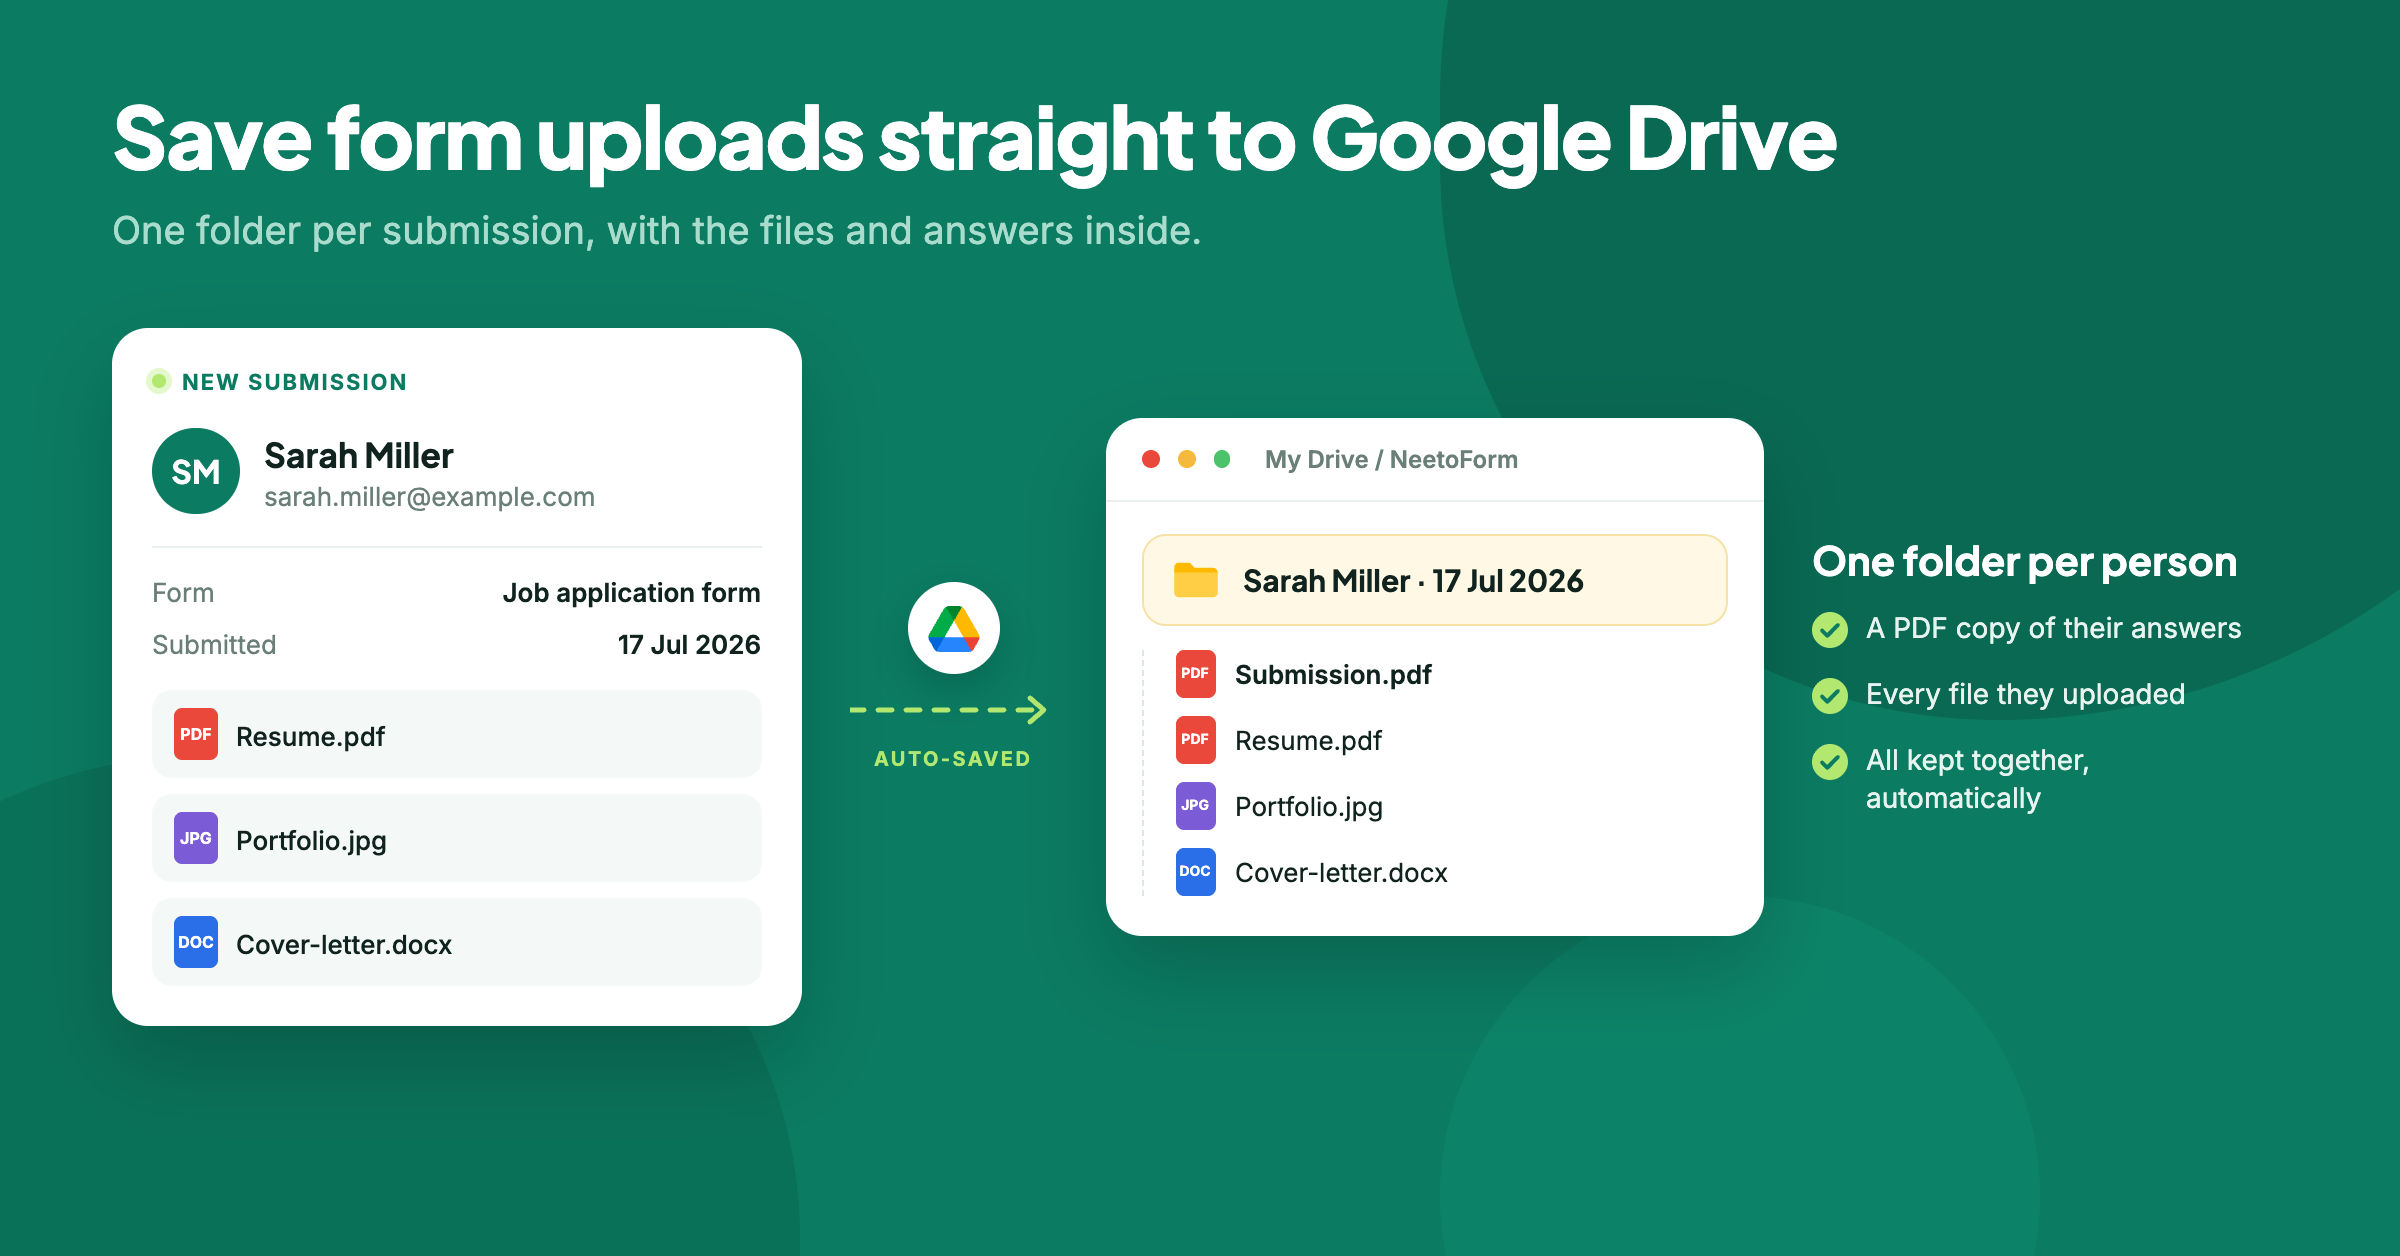
You can now connect a form to Google Drive. Every file someone uploads through the form is automatically saved to your Drive, along with a PDF copy of the submission, so the answers and files stay together.

Each submission gets its own folder, named using the fields you choose, such as the person's name and submission date. When you need to find something later, you can open the submission's folder instead of searching through submissions and downloading files one by one.

To learn more, read our help article.
Drive_Integration_S6Y4XfR_B.png

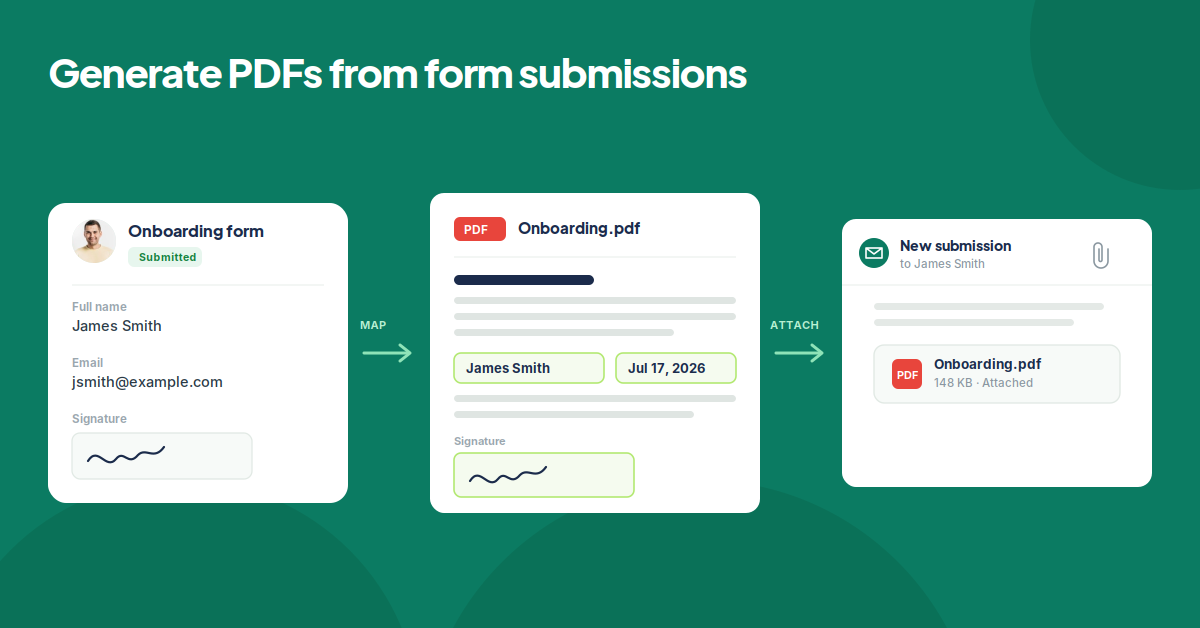
You can now generate a formatted PDF for every form submission. Upload your own PDF template, place form answers (including signatures) where you want them, and NeetoForm fills in a new copy for each submission.

This is useful when a plain-text notification isn't enough and you need a branded document, such as an onboarding form, signed agreement, or contract.

To learn more, read our help article.
pdf-form-cover_j-jpq_kW6.png

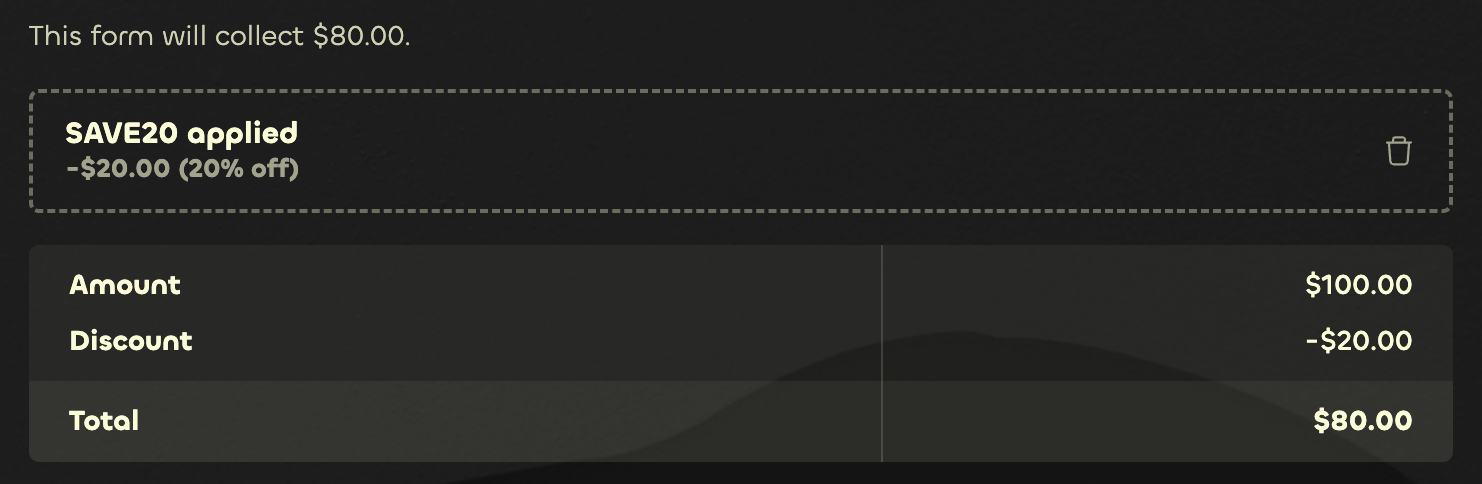
You can now create discount codes and let your respondents apply them on forams that collect payment. Codes can be a percentage or a fixed amount, with optional expiry dates and redemption limits.

You can track how many times each code has been redeemed and export per-form reports. And when a code covers the full amount, the submission is completed right away without sending the respondent through the payment provider.

To learn more, read our help article.
image

Multiple product lists

Alan Mathews

You can now add more than one Product list element to the same form, instead of being limited to a single list. This lets you group products into separate categories — like "T-shirts" and "Hoodies".

All product lists in a form share one currency, and if you've added a payment element, the total amount to pay is the sum of every product selected across all the lists. So a buyer can pick items from each category and check out for everything in one go.

To learn more, read our help article.


Previously, you could use a single variable (like {{Full Name}}) to insert a user's complete name into your emails or templates.

What's new?

We've introduced two separate dynamic variables for names:

  1. {{First Name}}

  2. {{Last Name}}

How this helps you

This update gives you much more control and makes your communications feel more personal and natural:

  • Friendly greetings: You can now start an email or message with a simple, direct greeting like, "Hi {{First Name}}," which is often preferred over using the full name.

    • Example: Instead of "Dear John Smith," you can now use "Hey John,"

  • Formal communication: If you need to use only the last name (or a combination of both in a specific order), you have the flexibility to do so.


Pre-fill form fields

Sagar Anadkat

We've made it easier and faster for people to fill out your NeetoForm.

What's new

You can now pre-fill fields in your forms by adding information directly to the form's URL.

How this helps you

  • Save time for your users: When you send someone a link, fields like their name, email, or other known information will already be filled in for them. They only have to check it and fill out the rest of the form.

  • Faster Submissions: The less a submitter has to type, the more likely they are to complete the form quickly.

Example

Imagine you want to send a form link to your submitter, John, whose email you already know.

Instead of sending the regular link, you can send a special link like this:

https://example.neetoform.com/78a96cf567facd7335c3?full_name.name=John&email=john@example.com

When John clicks this link, the Name and Email fields on the form will automatically be filled out with "John" and "john@example.com".

To learn more about this feature, check this help article.


image

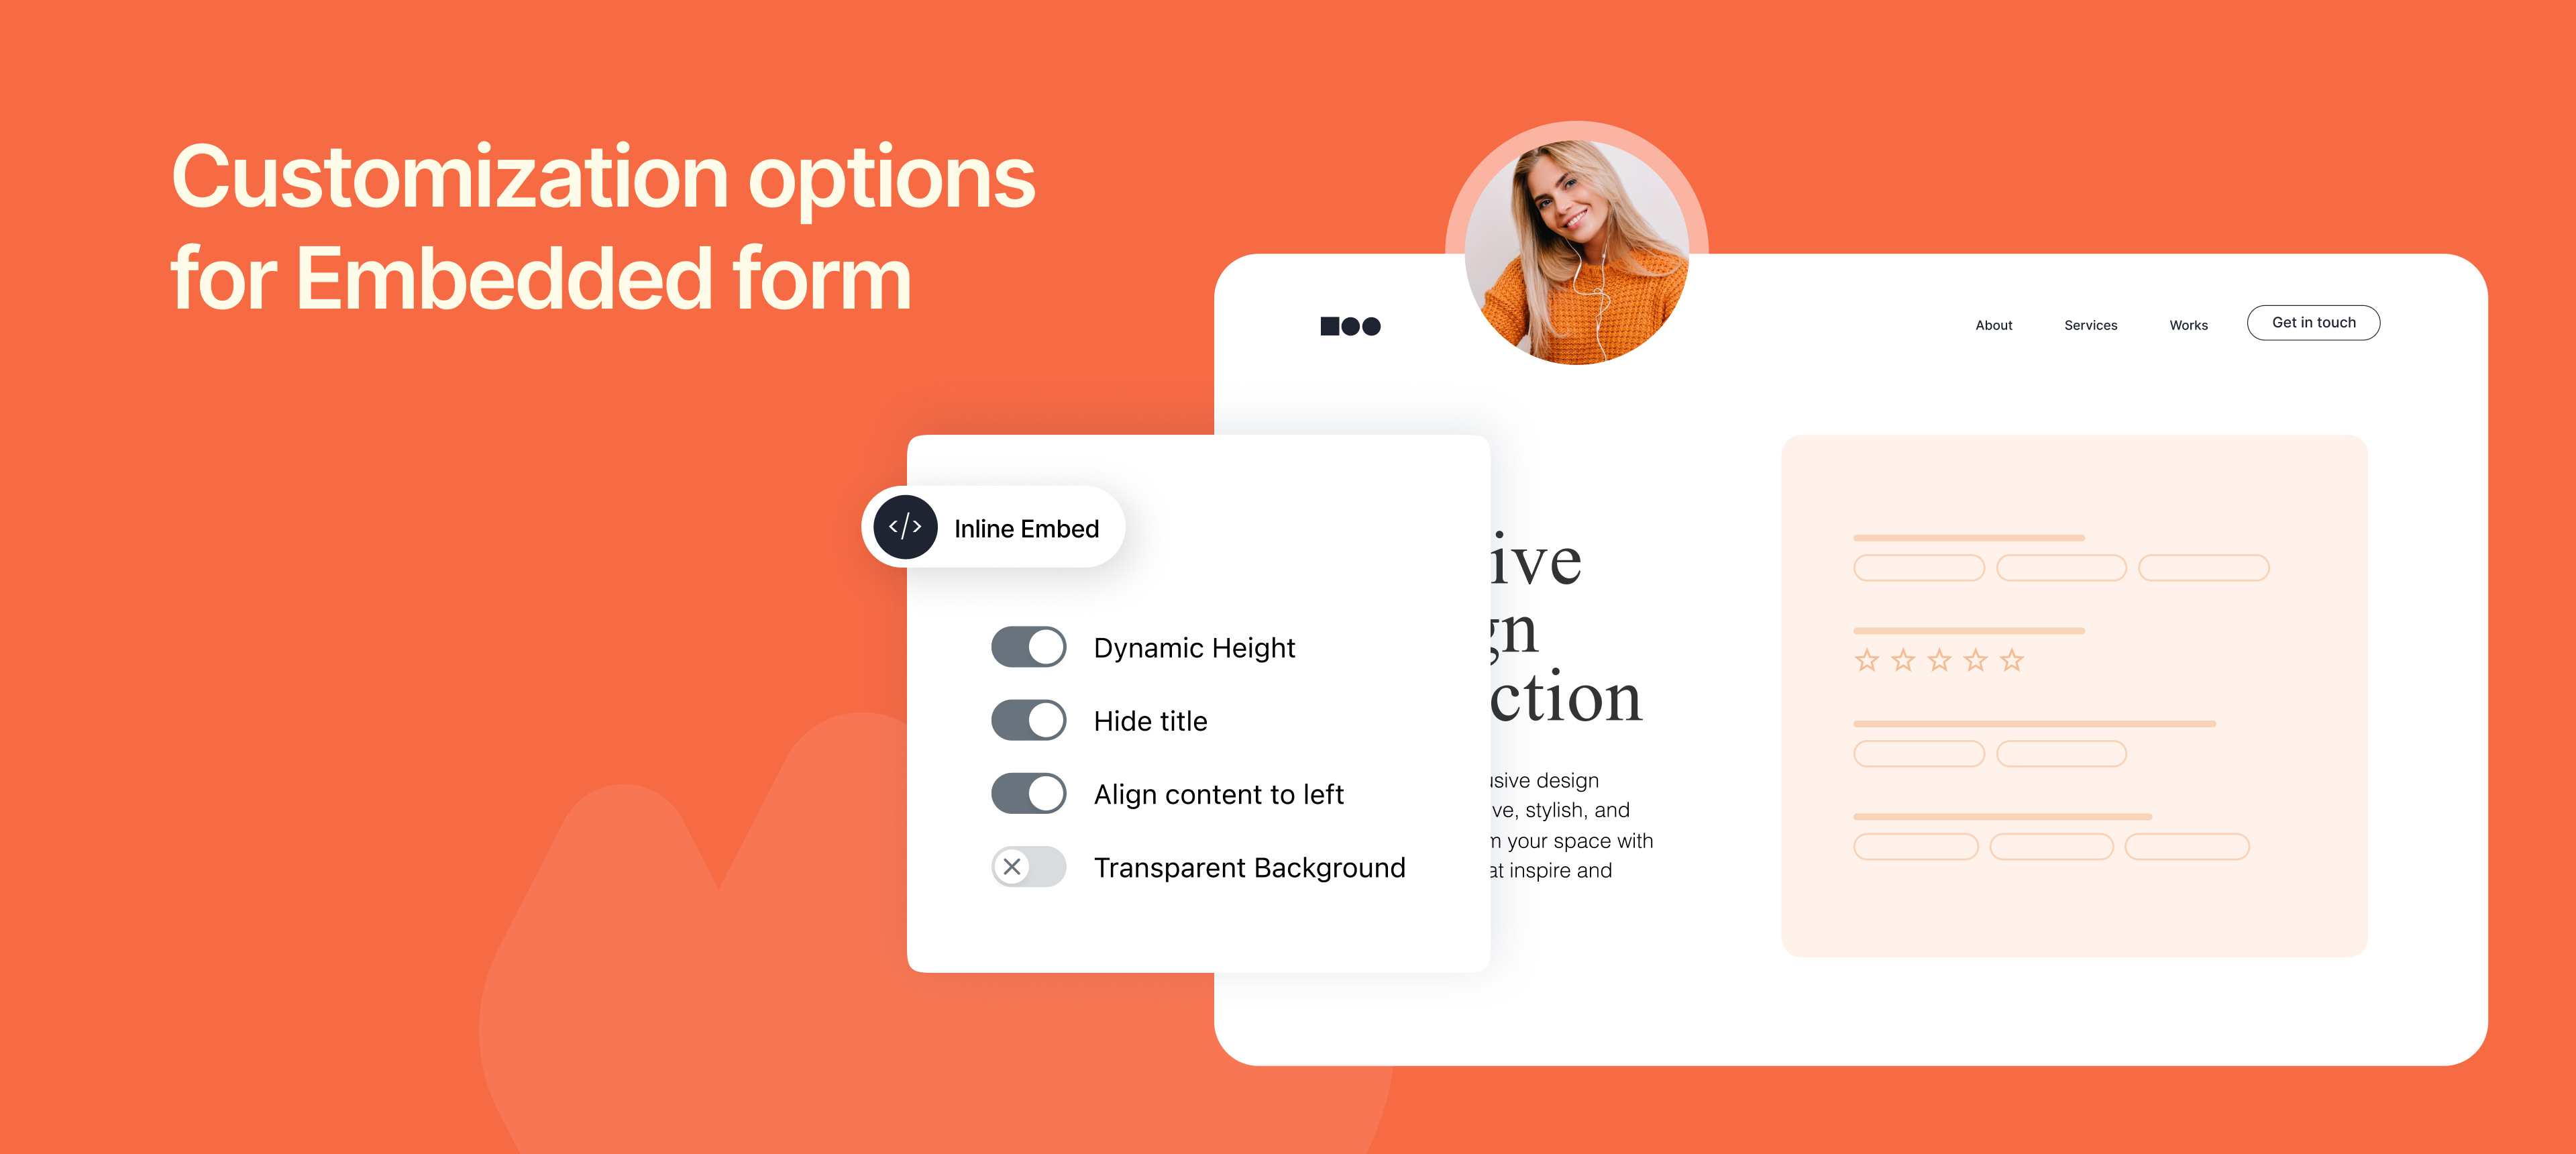
We've added new customization options in embedding that give you full control over how your embedded forms look and feel on your website. Now you can make your forms look more polished and feel like a natural part of your page, not a separate page.

Customization options

We've added four key options to help you customize your embedded forms. You can easily toggle these options on to see the embed code update instantly.

Dynamic Height

  • What it does: The form's height will automatically adjust to fit all of its content.

Hide Title

  • What it does: This removes the default form title from the top of the embed.

Align Content to Left

  • What it does: Removes the extra space (internal padding) around the form fields, pushing them to the far left edge of the container.

Transparent Background

  • What it does: Makes the embedded form's background transparent.

To learn about this feature, check our help article.